Watch the video below to learn how to create drivers.
Click on the “Drivers” menu item on the main menu.
This will open the main screen for the drivers in your company. In the data table, you can sort your drivers by any column by clicking anywhere on the column headings. You can also Edit and Delete a driver from this screen by clicking on the ellipsis (…) button on the row of the item you want to edit or delete.
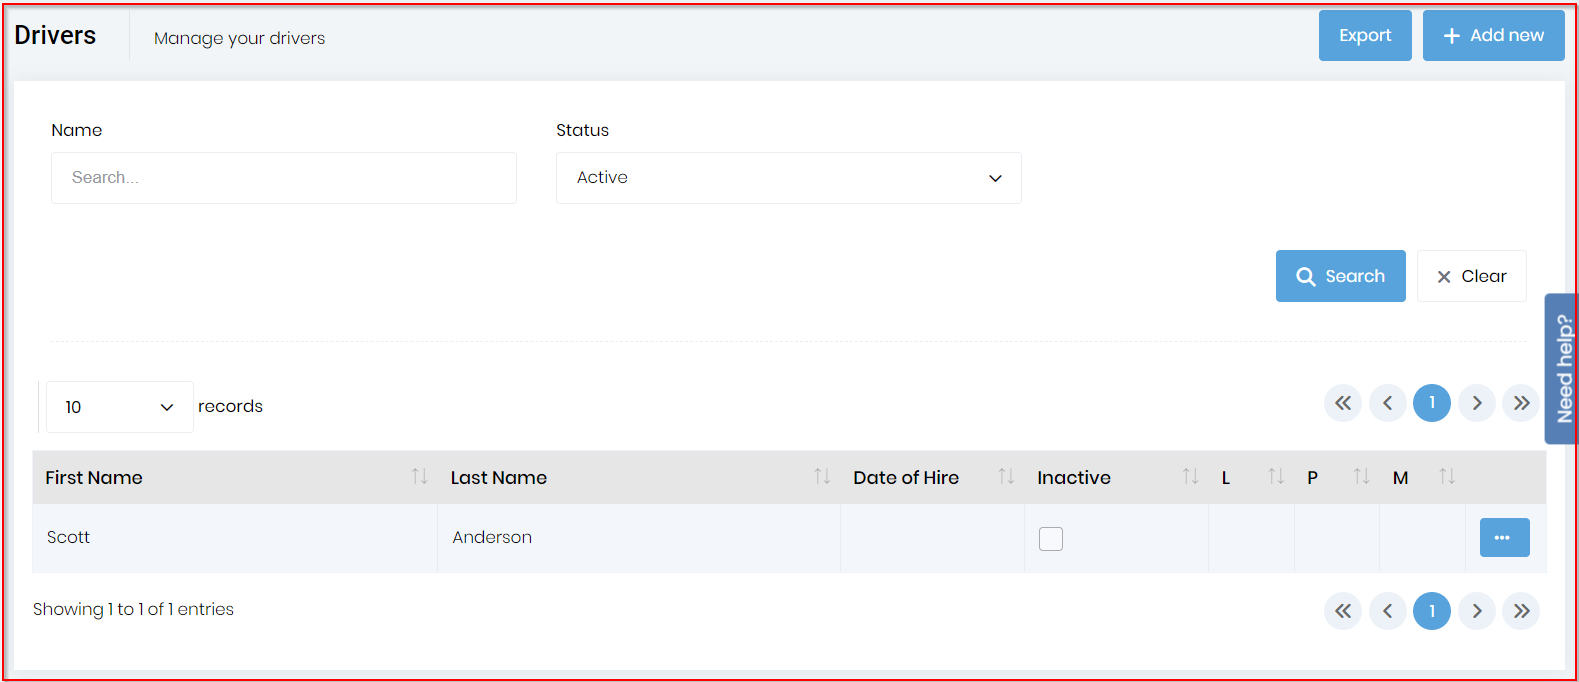
Click on the “Add new” button at the top of the “Drivers List”.

Fill out the fields provided with the corresponding information.
Preferred format means specifying the format that messages will be sent to the driver. This should be saved as Neither until you are ready to begin scheduling and dispatching. This will prevent confusion if they start getting messages while you are playing with the system. Once the dispatcher is comfortable with the process and ready to start dispatching the drivers through Dump Truck Dispatcher, the preferred format can be set to the desired setting.
You can mark a driver “Inactive” if they are not currently an active driver for a specific location.

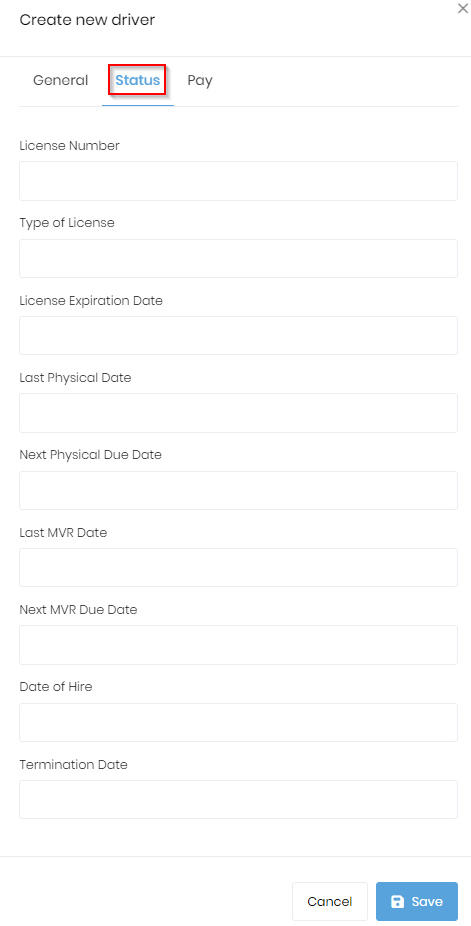
The “Status” tab is where you’ll enter information like license number, license expiration date, last physical date, next physical date, last MVR, etc. This is how we’ll track the due dates for you and let you see an overview of the drivers' status on the dashboard.
The "Pay" tab is where you will enter information related to the driver's pay. On the “Pay” tab, the user can select a specific time classification, such as drive truck, training, or vacation, and add the pay rate. If you add other time classifications, they will also be available.
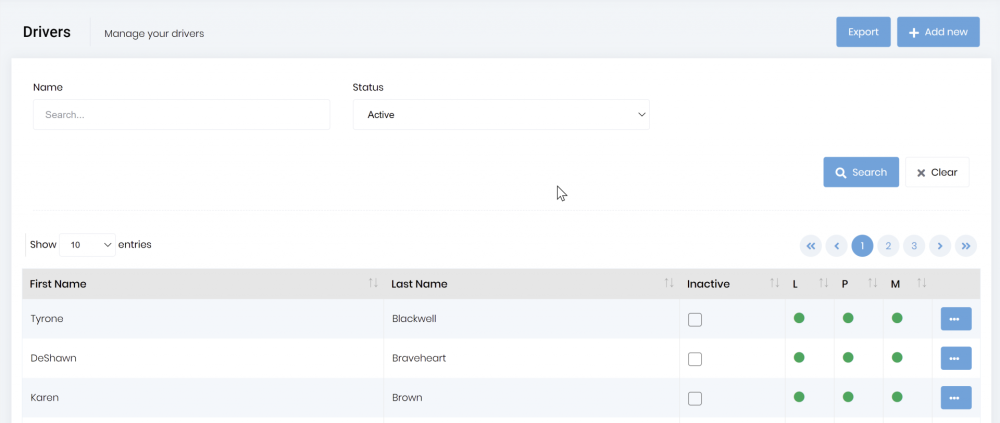
This view allows you to see the list of drivers and to add a new driver. To add a new driver, click on the “Add New” button located at the top right of the screen and you will see the data entry form shown below. The form below shows the site configured to use the "Driver App" for dispatching. Because of this, it has some required fields that will not be present if you are dispatching via "Simplified SMS".


Once you filled everything, click on the “Save” button.