Watch the video below to learn how to create a product or service.
There are two main scenarios. The first scenario, you are sending the truck to a project site at an hourly rate and someone on site controls their actions throughout the day, usually called hourly hauling.
The second scenario is when a truck needs to pick up a specific material and then deliver it to a project site.
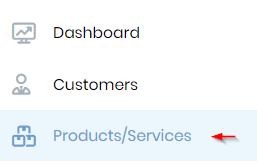
On the main menu click on “Products and Services”.
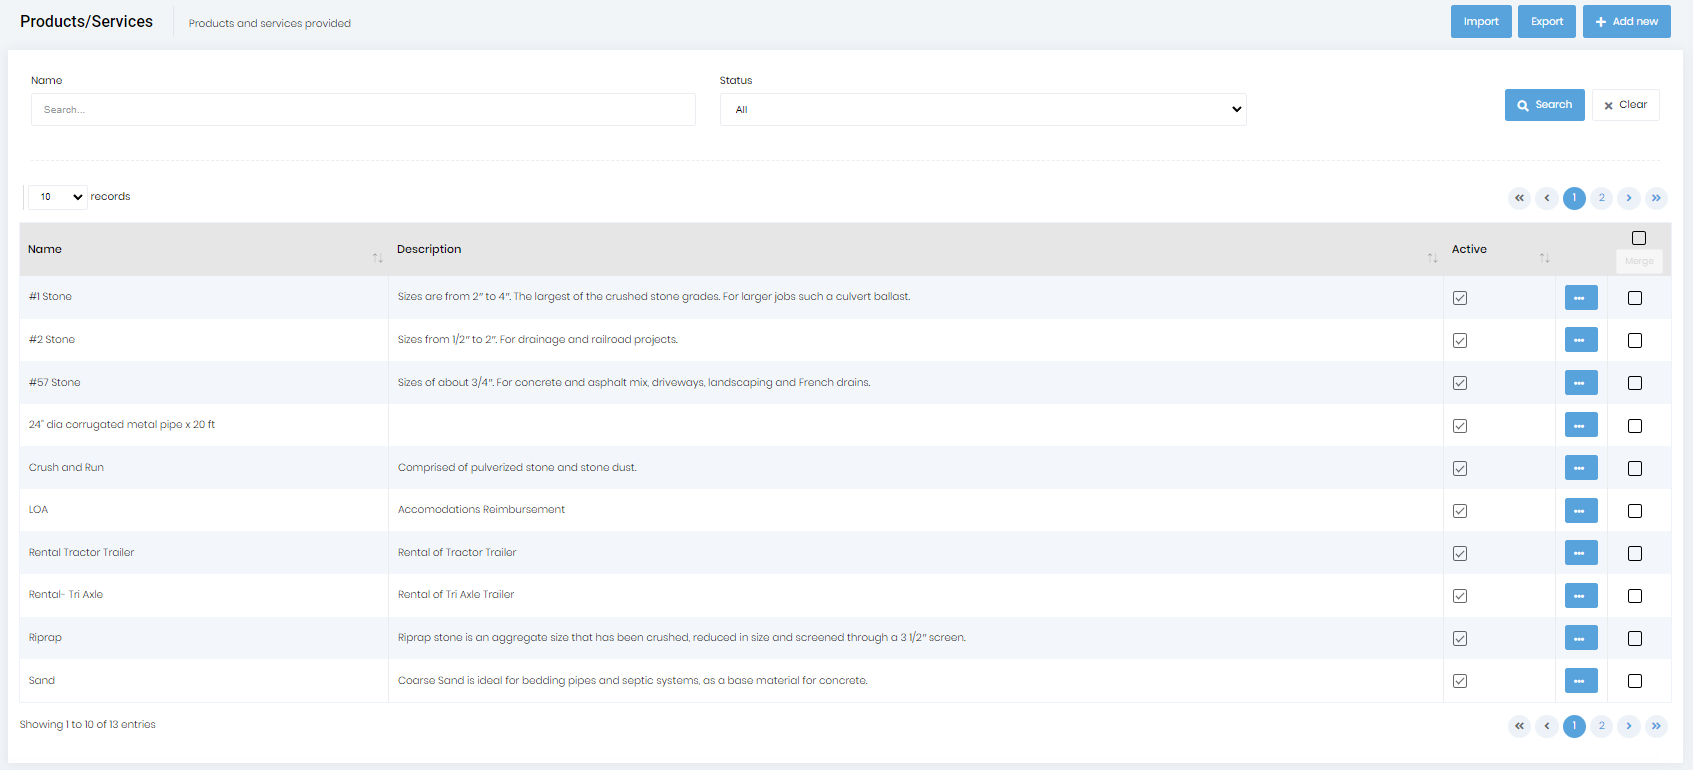
This will open the list of your company’s Products and Services as shown below.
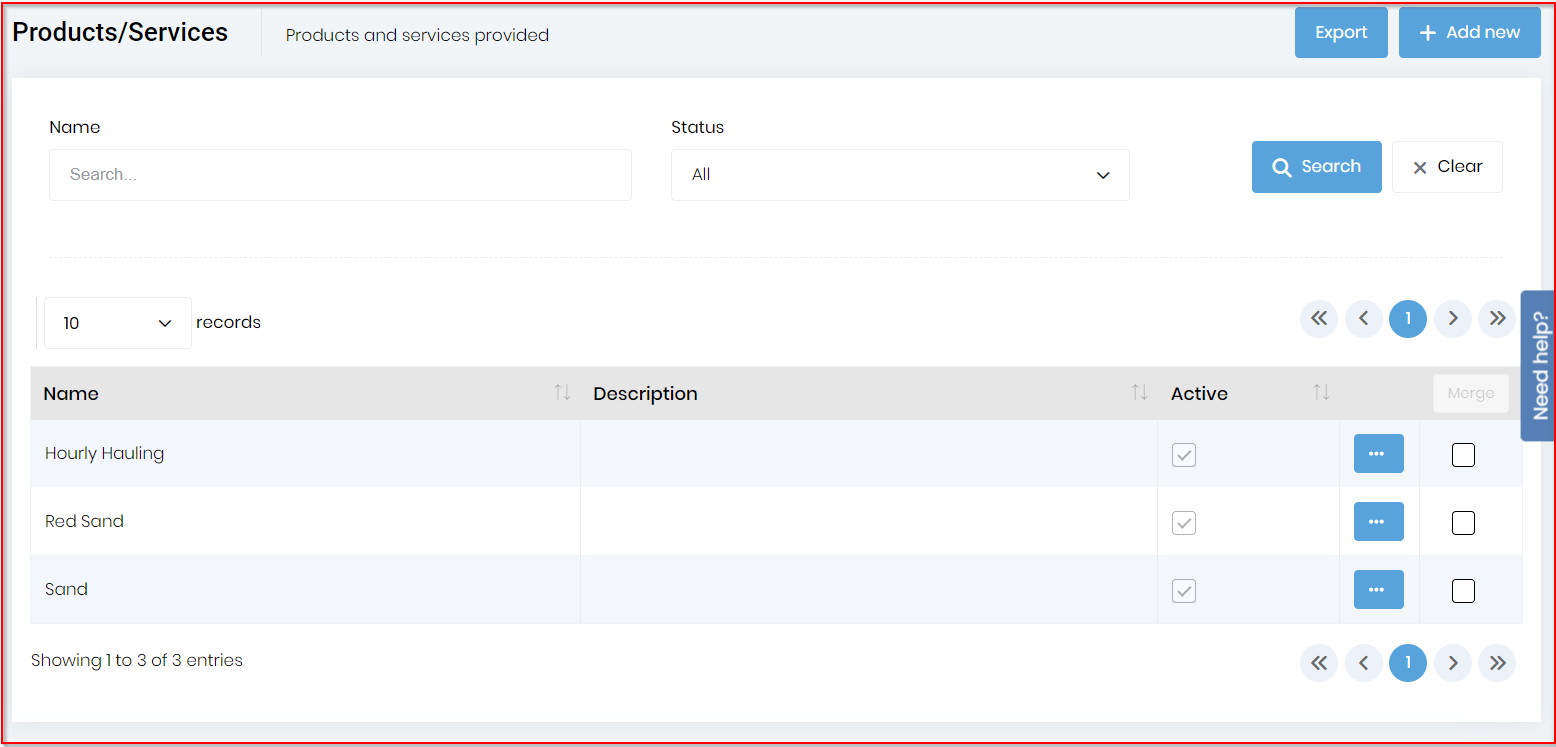
Click on the “Add new” button on the “Products & Services List”.

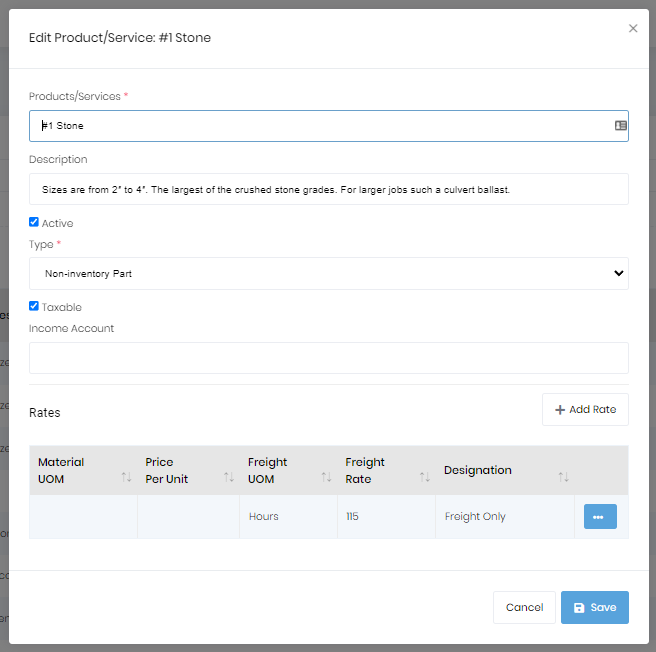
Fill out the fields provided with the corresponding information, such as product/service name and type (which are required). The "Type" will typically be either "Service" or "Non-inventory Part."
If you do not want the product or service to be displayed in the dropdowns, you can un-check the “Active” checkbox.
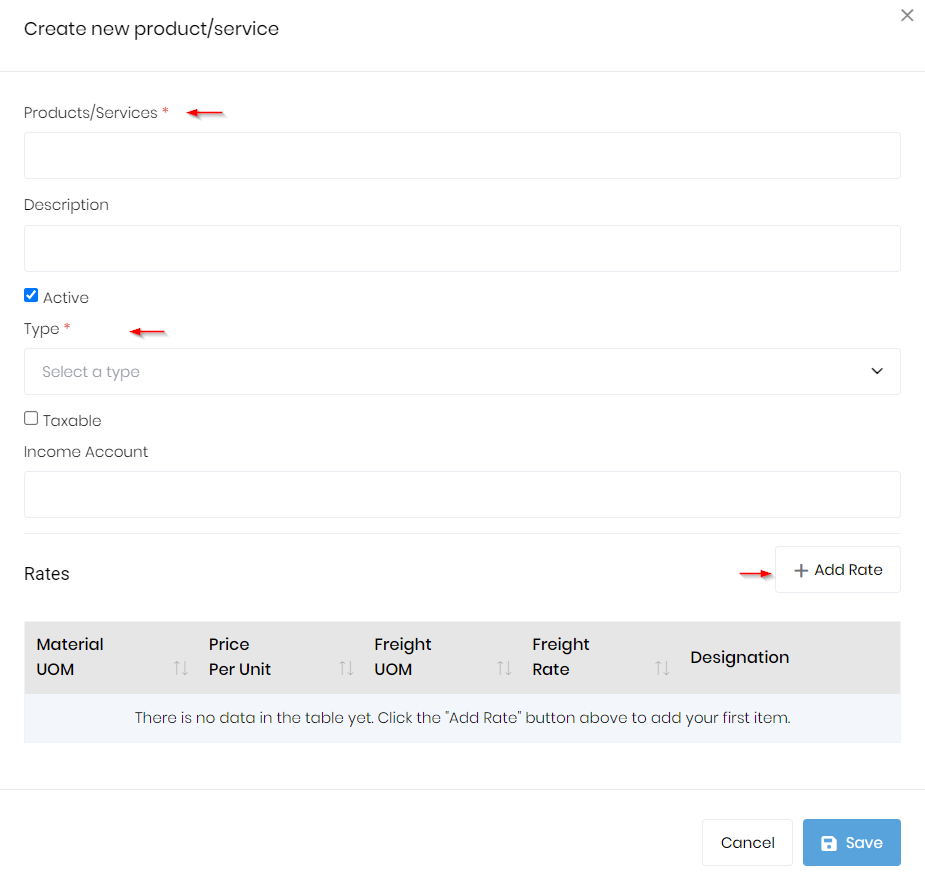
You can also add a rate by designation (freight/material only or freight and material, for example) by clicking on the "Add Rate" button to display the dialog below.
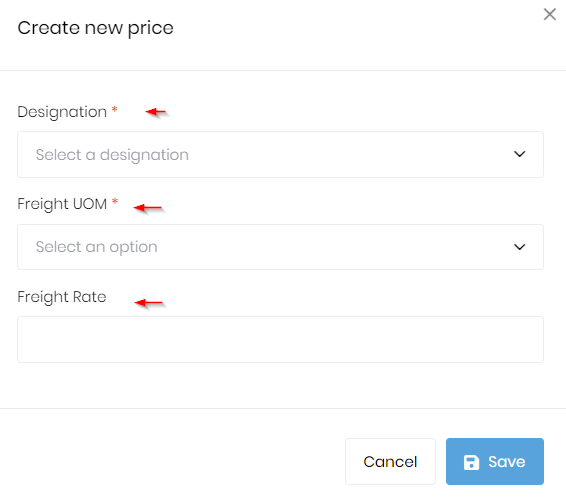
You can add multiple prices and units of measure for the same item.
Important Note: The rates entered here will be independent of the customer and the pickup and delivery locations. This means you won't be adding freight rates for anything other than hours unless you charge the same freight rate for any delivery in your area.
Also, the price per unit is optional and should be added only as a default price when it applies to most customers. This is not where you add pricing for individual customers. Special pricing for customers is done by creating a quote.
Click on the “Save” button when all data has been entered.