This functionality can only be used if it is enabled on the tenant. If it is enabled on the tenant, then you will be able to access the “lease hauler” menu (if you have the correct role and permissions) present on the left-hand side of the screen as shown in the image. Using this, you can add lease haulers, view the “lease agreements” and add/send requests to lease haulers.
Click on the menu “Lease haulers” under the “lease hauler” menu present on the left side of the screen. This functionality allows you to add the lease haulers. Once you have added lease haulers, you can also contact them either through email or phone. This menu also allows you to specify the trucks and drivers for lease haulers.
After clicking on the menu “lease haulers”, you will be able to see the page as shown below:
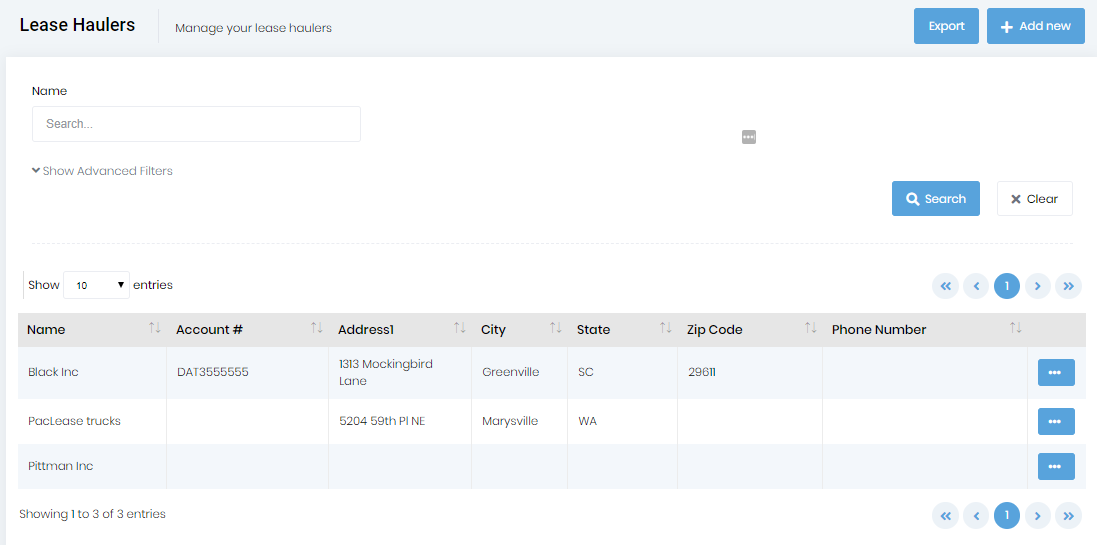
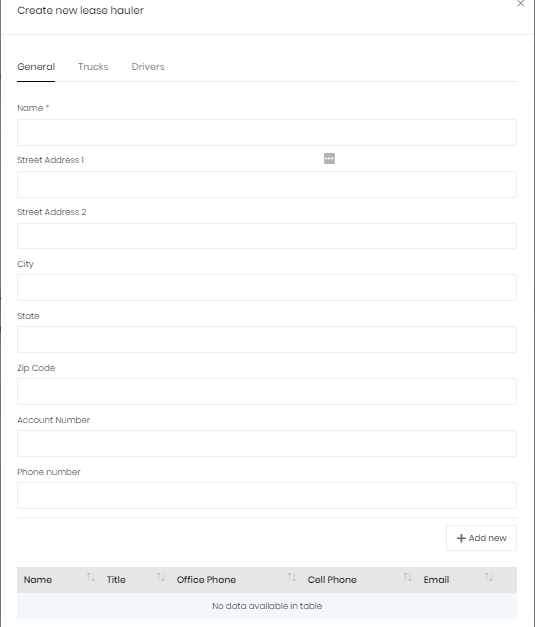
Clicking on the export button will create a CSV export file with all the records shown on the page. Clicking on the “add new” button will open the modal as shown below. In the “general” tab, you can enter all the information about the lease hauler. You can specify the trucks and the drivers by using the “trucks” tab and the “drivers” tab. Click the “add new” button shown at the bottom of the modal for adding the contact details of the lease hauler.
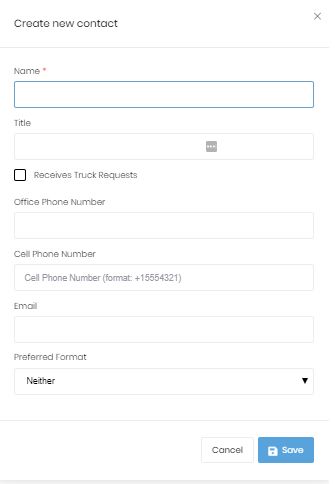
When you click on the “add new” button shown at the bottom of the modal, another modal as shown below will open. Enter the name, title, office phone number, cell phone number, email, and preferred format. If you want this lease hauler to receive the truck requests, then enable the checkbox “Receives truck request” as well. After adding all the details, click on the Save button.
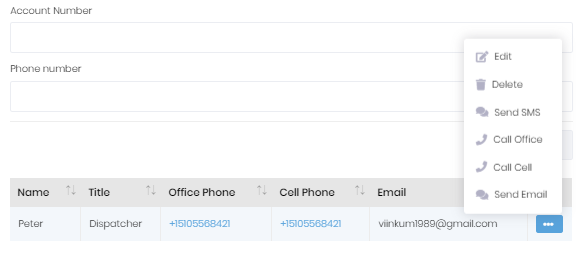
Once you have added the contact information, you will be able to see the details on the main modal. For contacting the lease hauler. Just click on the ellipsis button and then you can use “send SMS”, “Send Email”, “Call cell”, “Call office” menus. These menus are shown depending on the values that you had entered on the contact modal.
Send SMS: shown if “Cell phone number” is present
Send Email: shown if “Email address” is present
Call Cell: shown if “Cell phone number” is present
Call Office: shown if “office phone” is present.
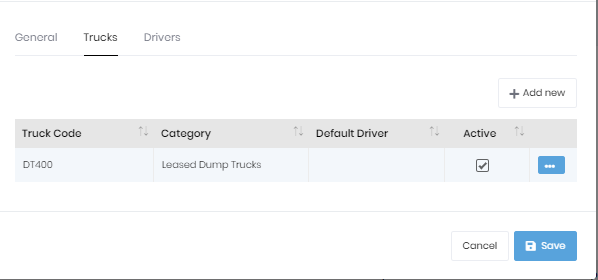
To add the trucks for the lease hauler, click on the “trucks tab” and then click on add new button which will allow you to add the trucks.
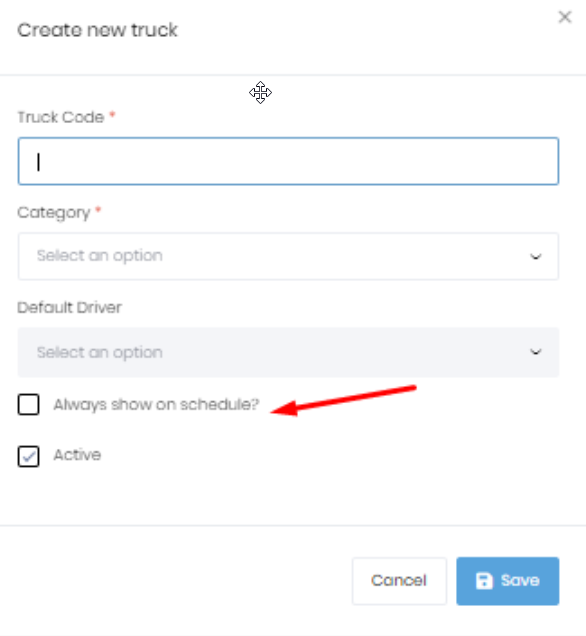
After clicking the "Add New" button, you'll see a dialog like the one below. Typically, you will not want your lease haulers added to your schedule every day. However, if they are embedded and are available to you every day, you can check the "Always show on schedule" checkbox and they will be present every day without your having to add them on a daily basis.
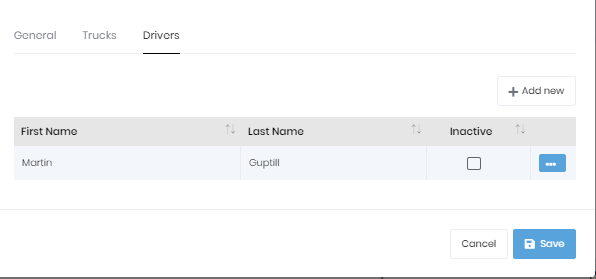
For creating the drivers for lease haulers, click on the “drivers” tab and click on add new button for entering the details of drivers.
