The first thing you’ll notice on the list is the trigger icon. This will help you find what notification you’re looking for if you hover over this icon, You can see more details about the notification including control type, parameters, Actions, the text of the notification, resources, and more.
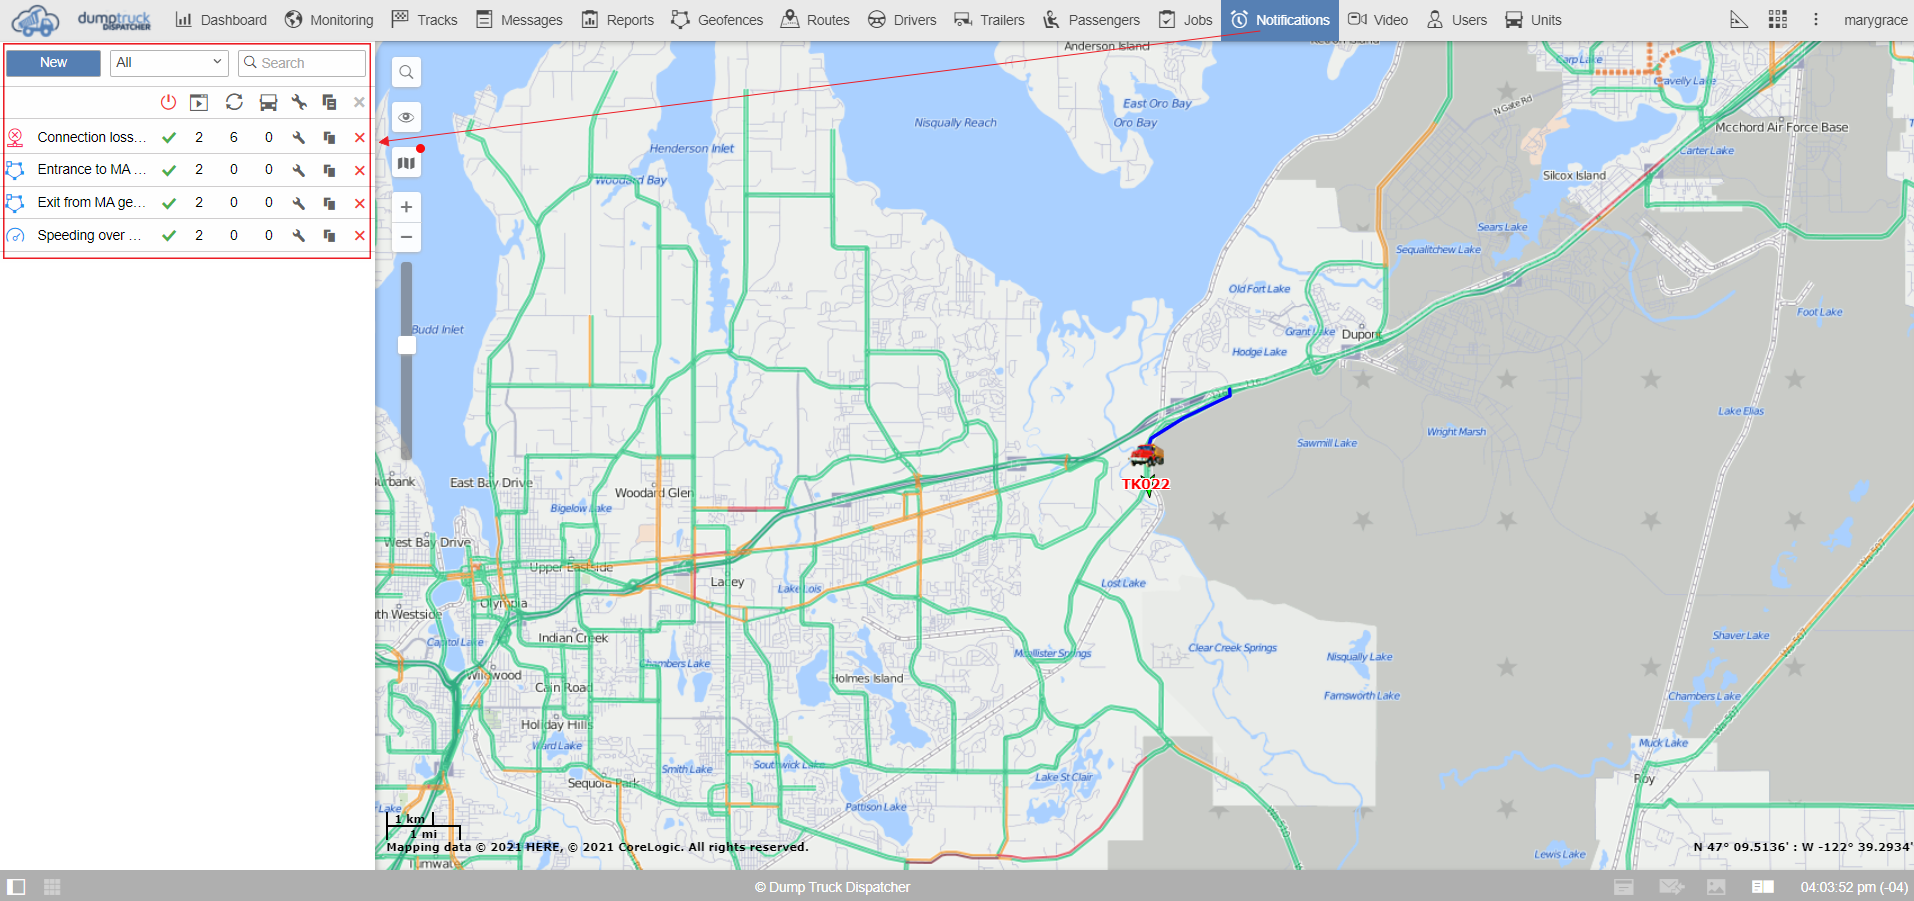
To the right of the notification icon, you can see the notification name as well as the notification state just a little bit over from that a notification has two states: activated and deactivated. This is basically how you turn your notifications off and on without needing to delete them.
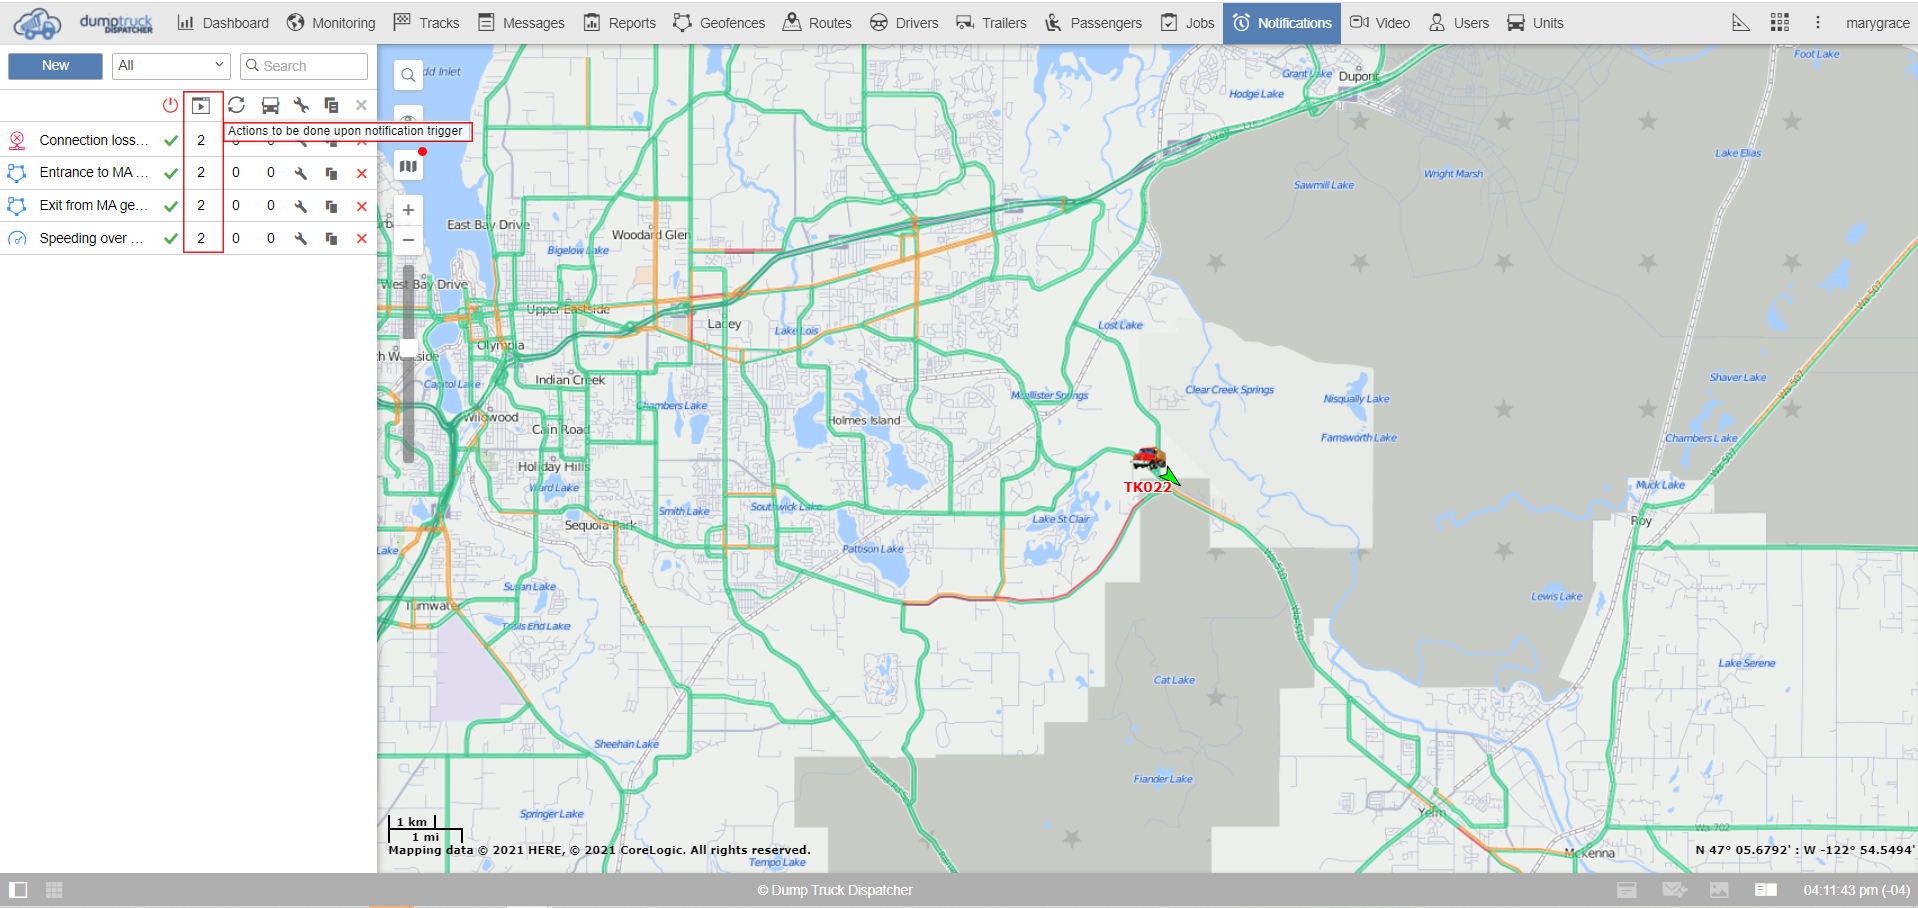
To the right of the notification state, we can see the number of actions to be completed. If we hover over it we can actually see what those actions are. Actions are everything the notification will do after it is triggered.
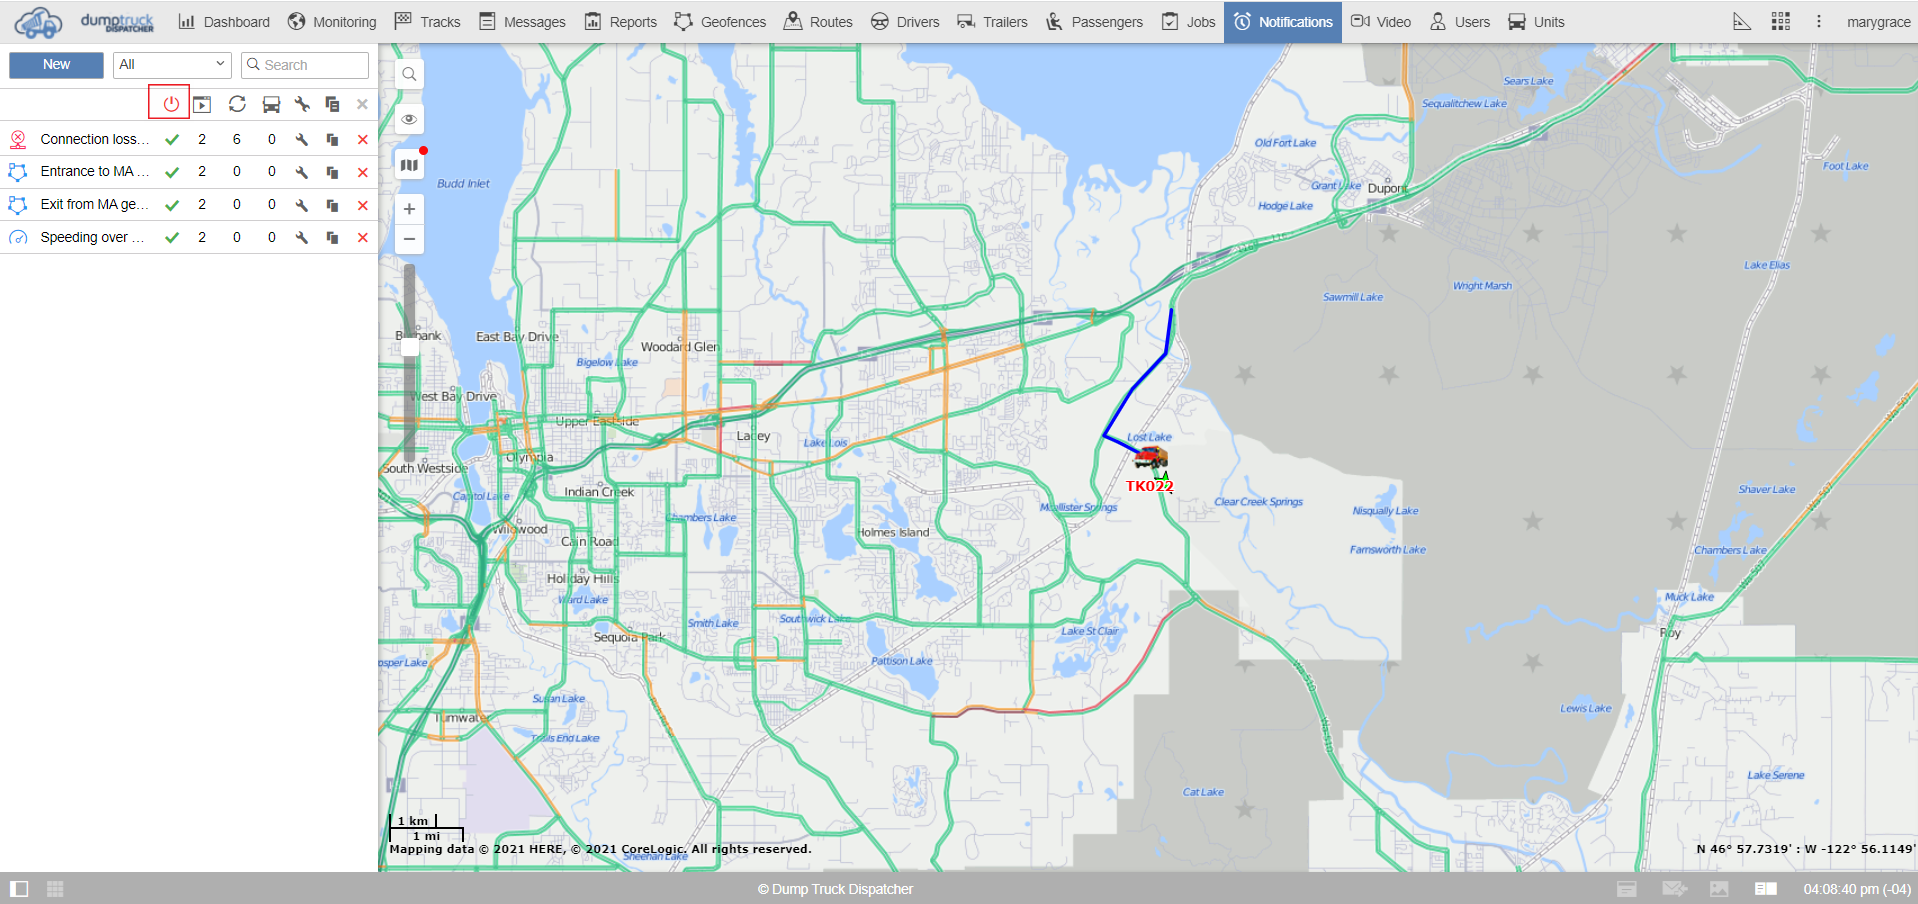
Next, we have the activation counter which tells you the number of times the notification is activated. To the left of this, we have the number of vehicles that can trigger this notification. Lastly, we have the notification properties or settings, Copy notification properties, and delete notification.
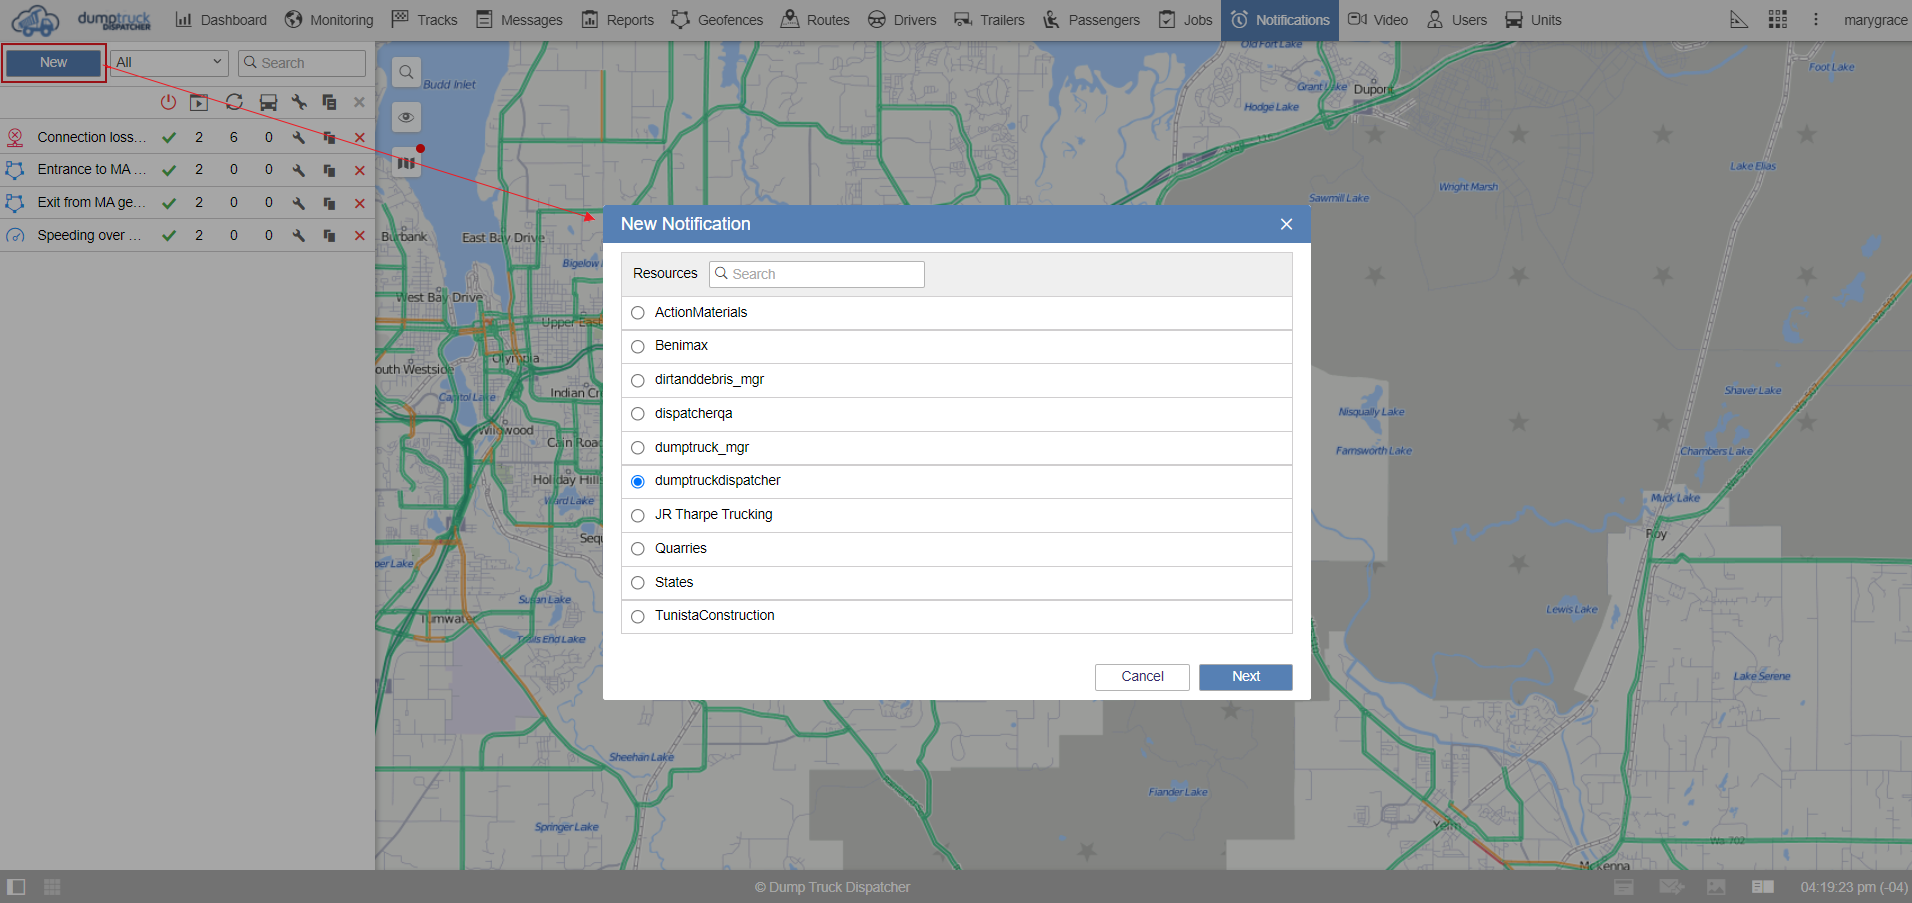
Click on the new button. Part of the creation of any notification is selecting which vehicles will trigger this notification. If you want all the vehicles to notify you, just select the top-left checkbox and click next.

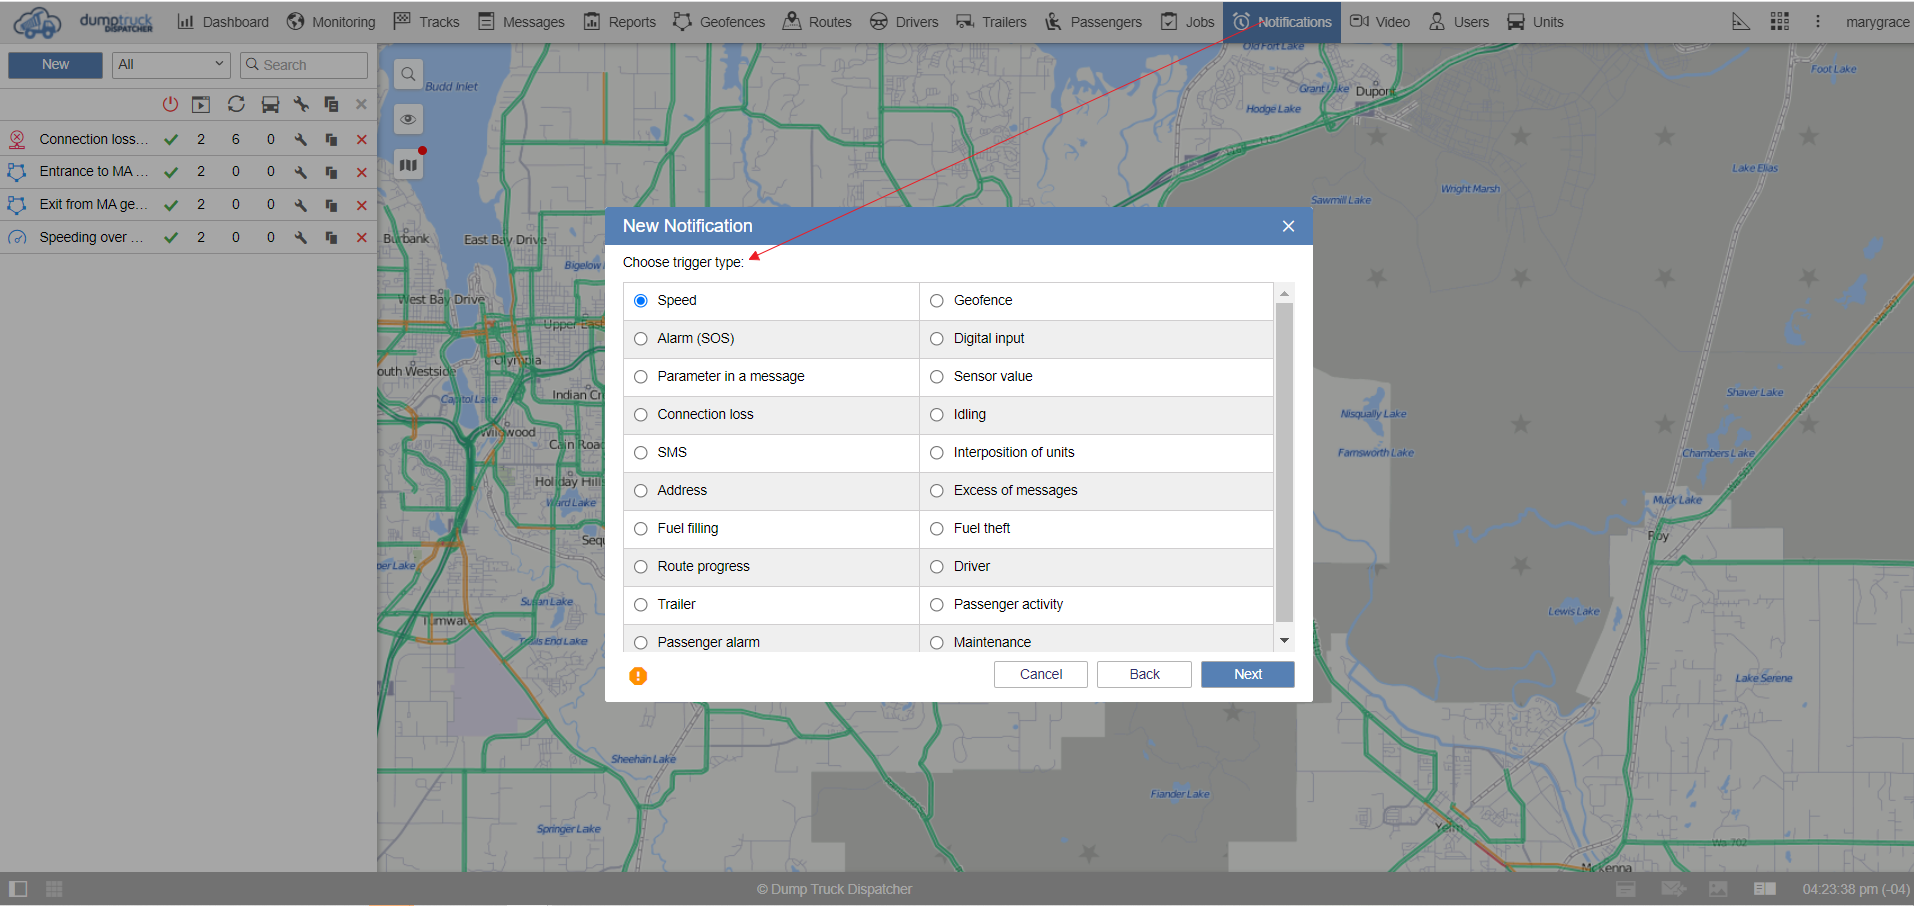
Then select the trigger type. As you can see below, there are quite a few selections of triggers. You can select the geofence trigger for example.
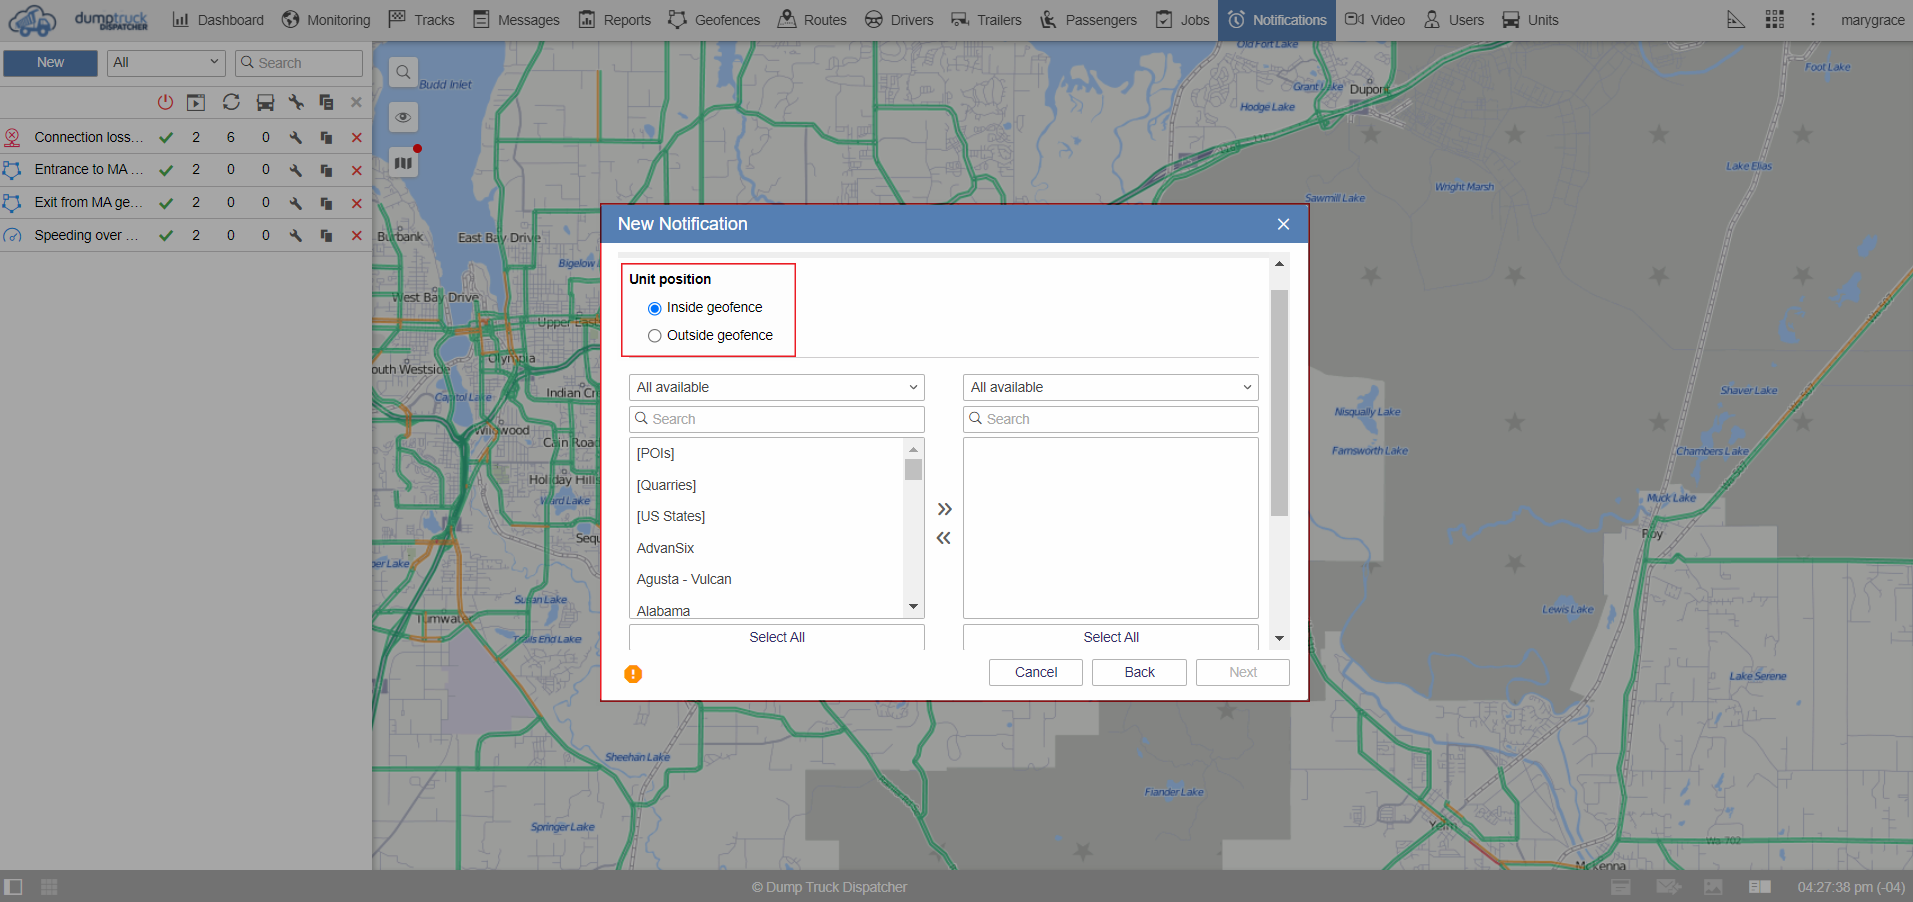
Now we want to select whether we know it leaves or comes into our selected area. If you would like to know when any of your trucks leave the area, just select the outside geofence.
Then select your chosen area. It should be noted that if you would like to be notified of both exiting and entering, you’ll need to make two geofence notifications.
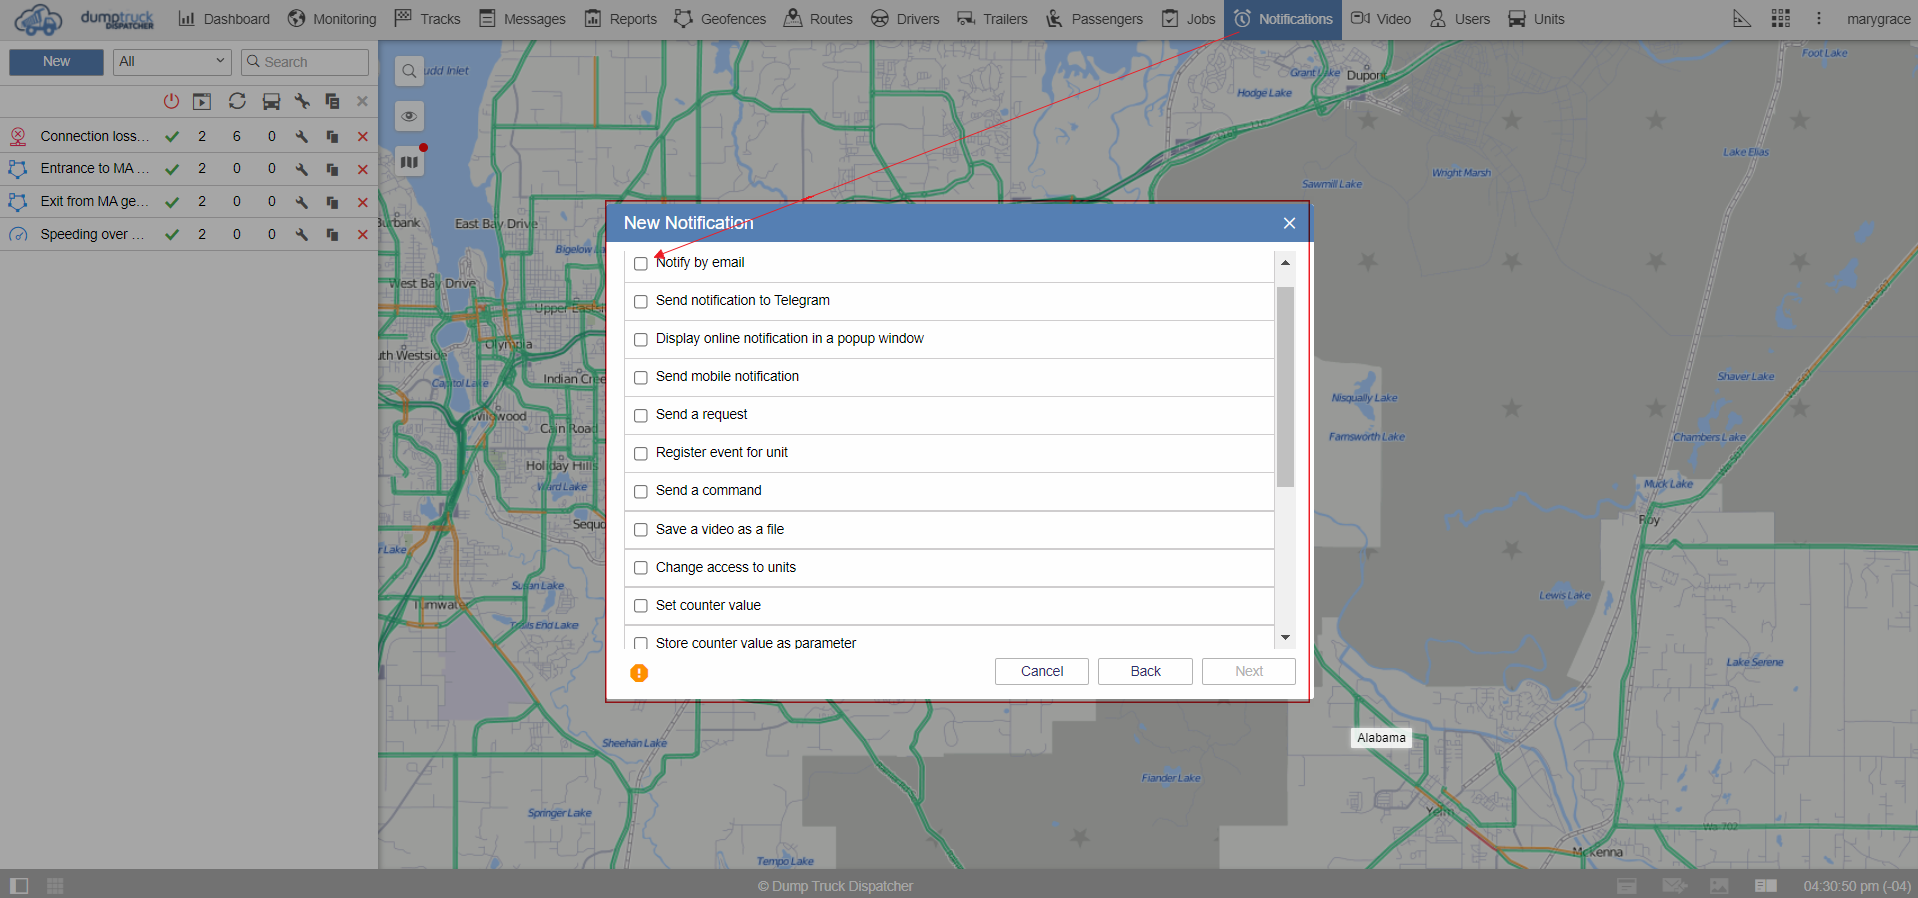
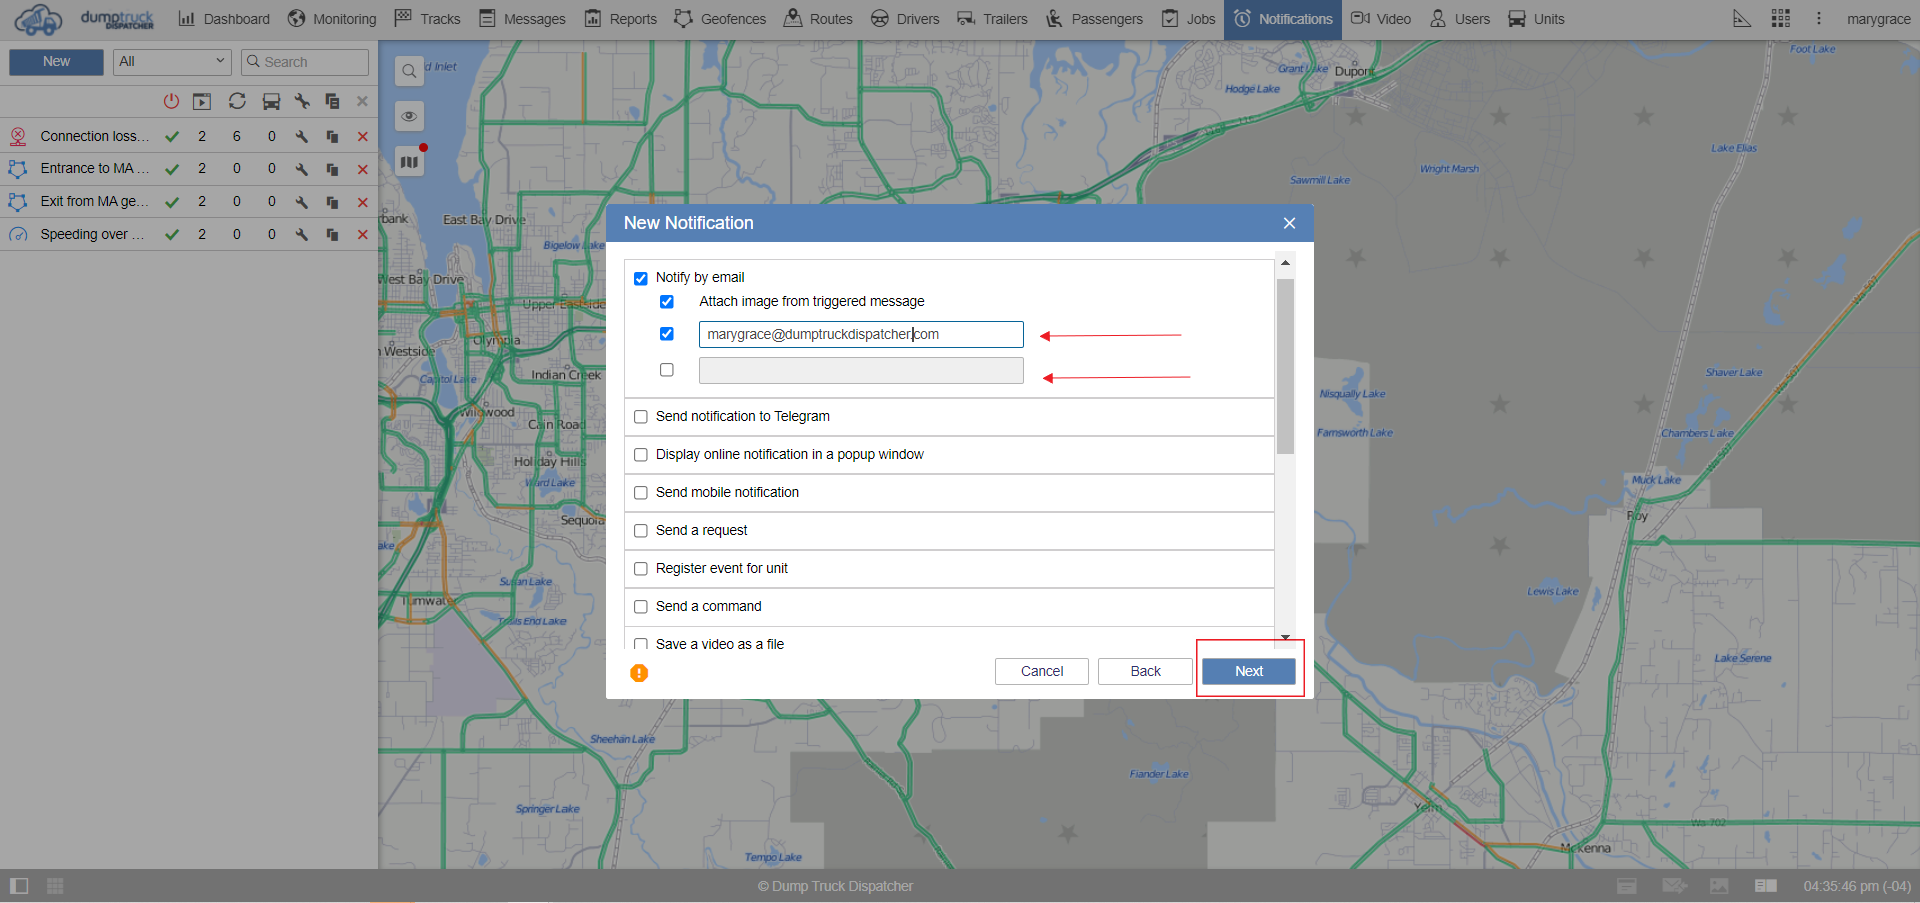
Next, you’ll select how you wish to be notified. For example, you select notify by email, just put in the emails you want to be notified on. You can enter as many emails as you want.
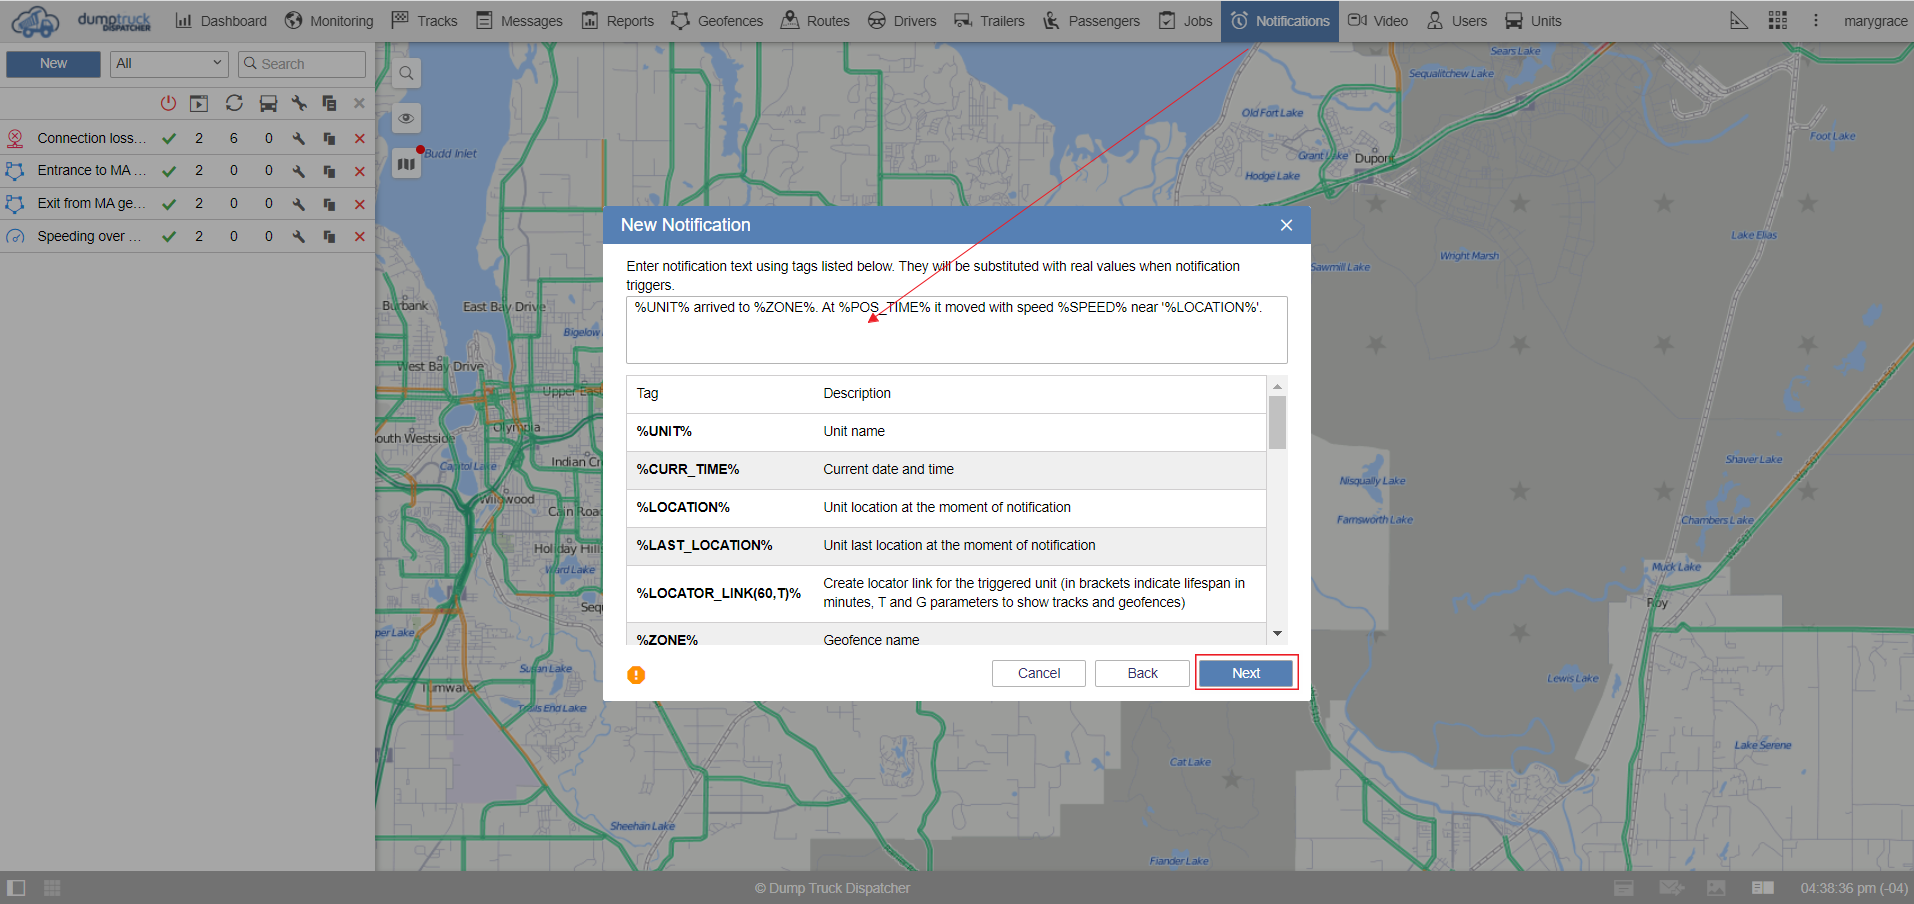
You can customize the notification text by choosing the tag or format that you want (tags consist of percentage brackets).
For example: type the word time followed by a colon, then you click on “%CURR_TIME%” – anything within these percentage brackets will be replaced with an actual value when it sends the notification.
Then press enters and type a unit colon and click on %UNIT% and press Enter once more and type Geofence colon and click on %ZONE%. You can choose from different variables on the tags to customize your notifications to the fullest.
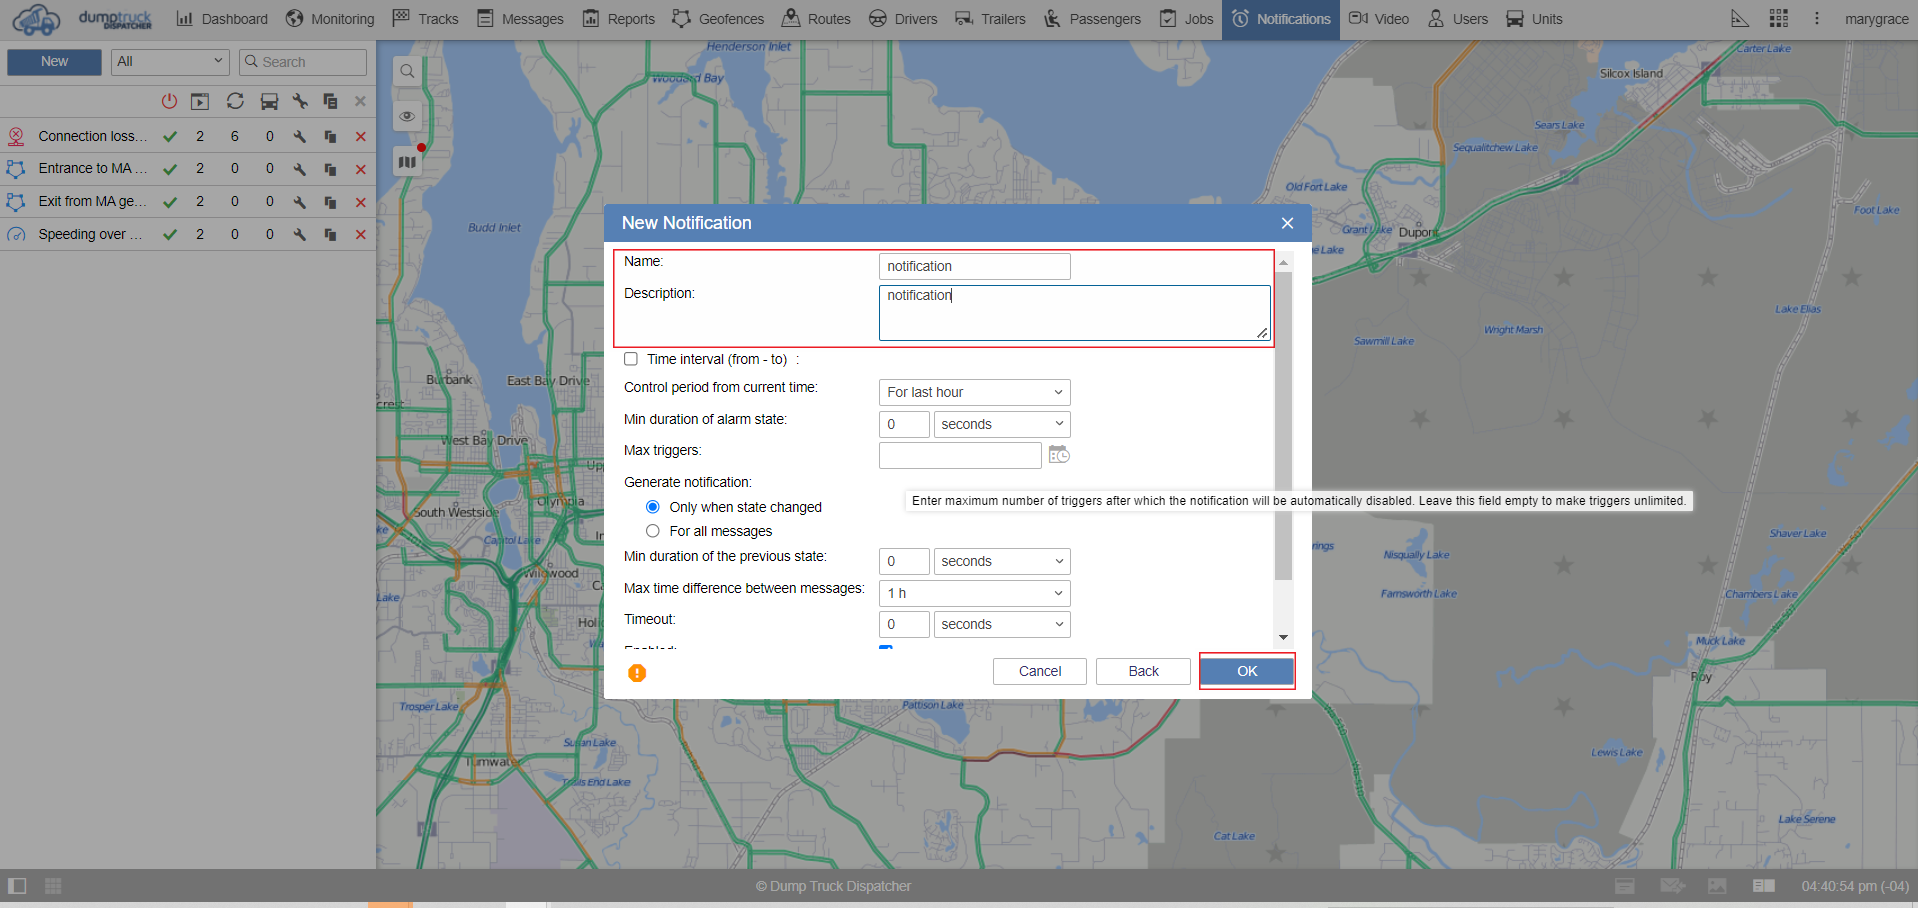
Next, we’ll name the Geofence alert we create. You’ll notice a lot of other settings below but their defaults are good for their purpose. Then click OK
Now let's see how the notification is triggered For example You’ve set up a special notification that will trigger only once when a unit reaches 1 mile per hour. After the unit reaches one mile per hour You can see a window pop up on the screen. This is your online notifications log displaying all of your notifications.