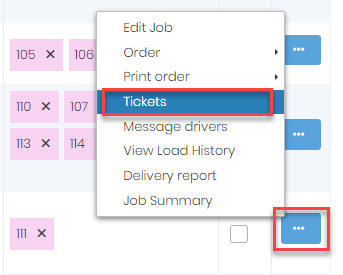
You can access the “Ticket List” from the main menu under the “Tickets & Loads” menu item.
The “Ticket List” allows you to search for tickets via numerous search criteria. It also allows you to readily create a batch of invoices from a batch of tickets.
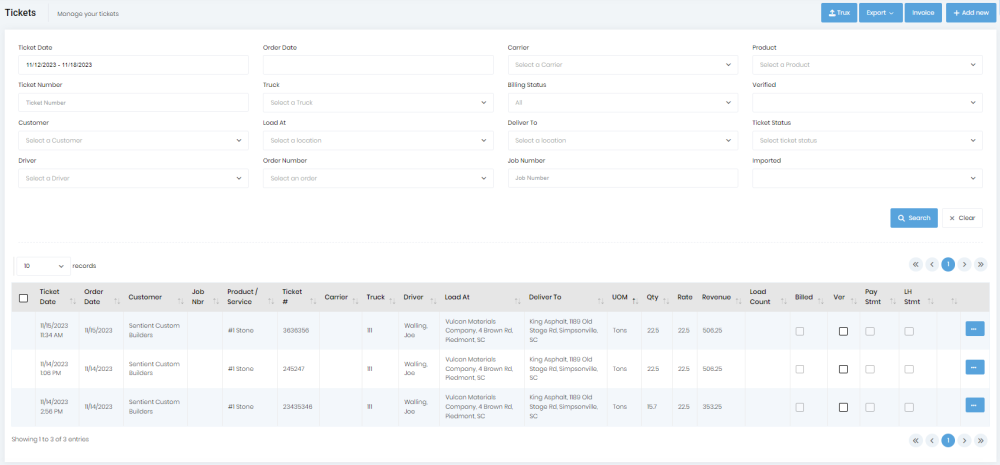
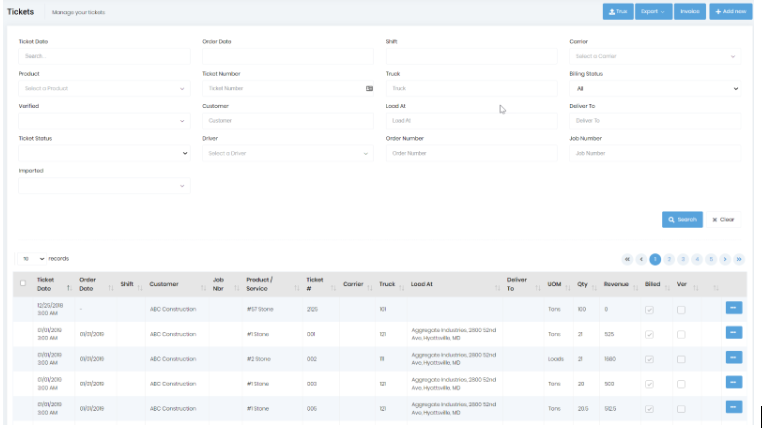
Above is a screenshot of the “Ticket List.” At the top right are buttons to allow you to
When you choose to export data, you have two options. One is to export all of the data that meets the search criteria; the other option is to export the items you selected based on the checkbox in the leftmost column.
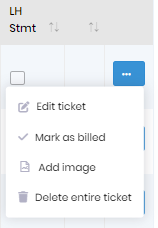
You can perform numerous actions using the menu button on each ticket row as shown below. Once a ticket has been added to an invoice or a driver pay statement, it can’t be edited.
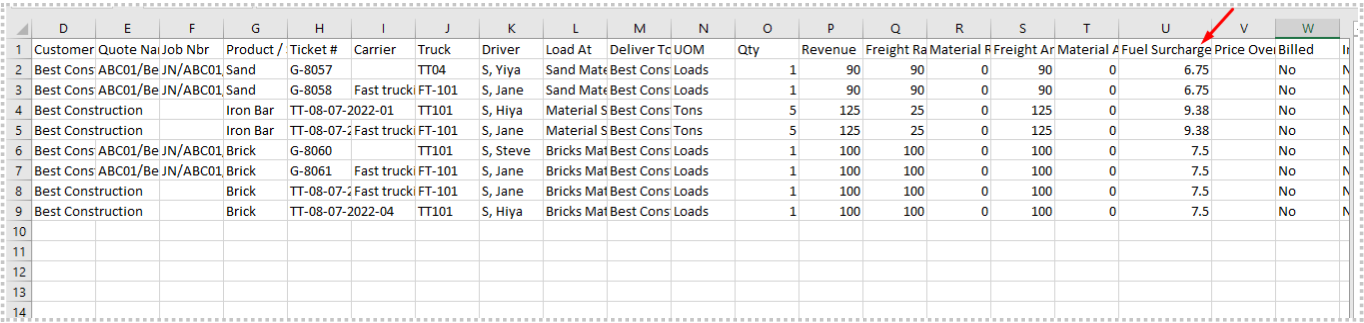
Below is a screenshot of the ticket export showing some of the columns that are exported. If the “Show Fuel Surcharge” checkbox is enabled on settings, there will be a “Fuel Surcharge” column with its corresponding Fuel surcharge value on the ticket export.
And it is calculated as FuelSurcharge = FreightAmount*((CurrentFuelCost – BaseFuelCost)*FreightRatePercent)/(100*Increment)
When you choose to invoice, the system will only invoice the selected tickets. You may want to change the number of records to display if you use this option and have numerous items to select.
Below the buttons are numerous search criteria. Most of the criteria are obvious from their name. What might not be as obvious is that you can search for missing tickets using the “Ticket Status” dropdown.