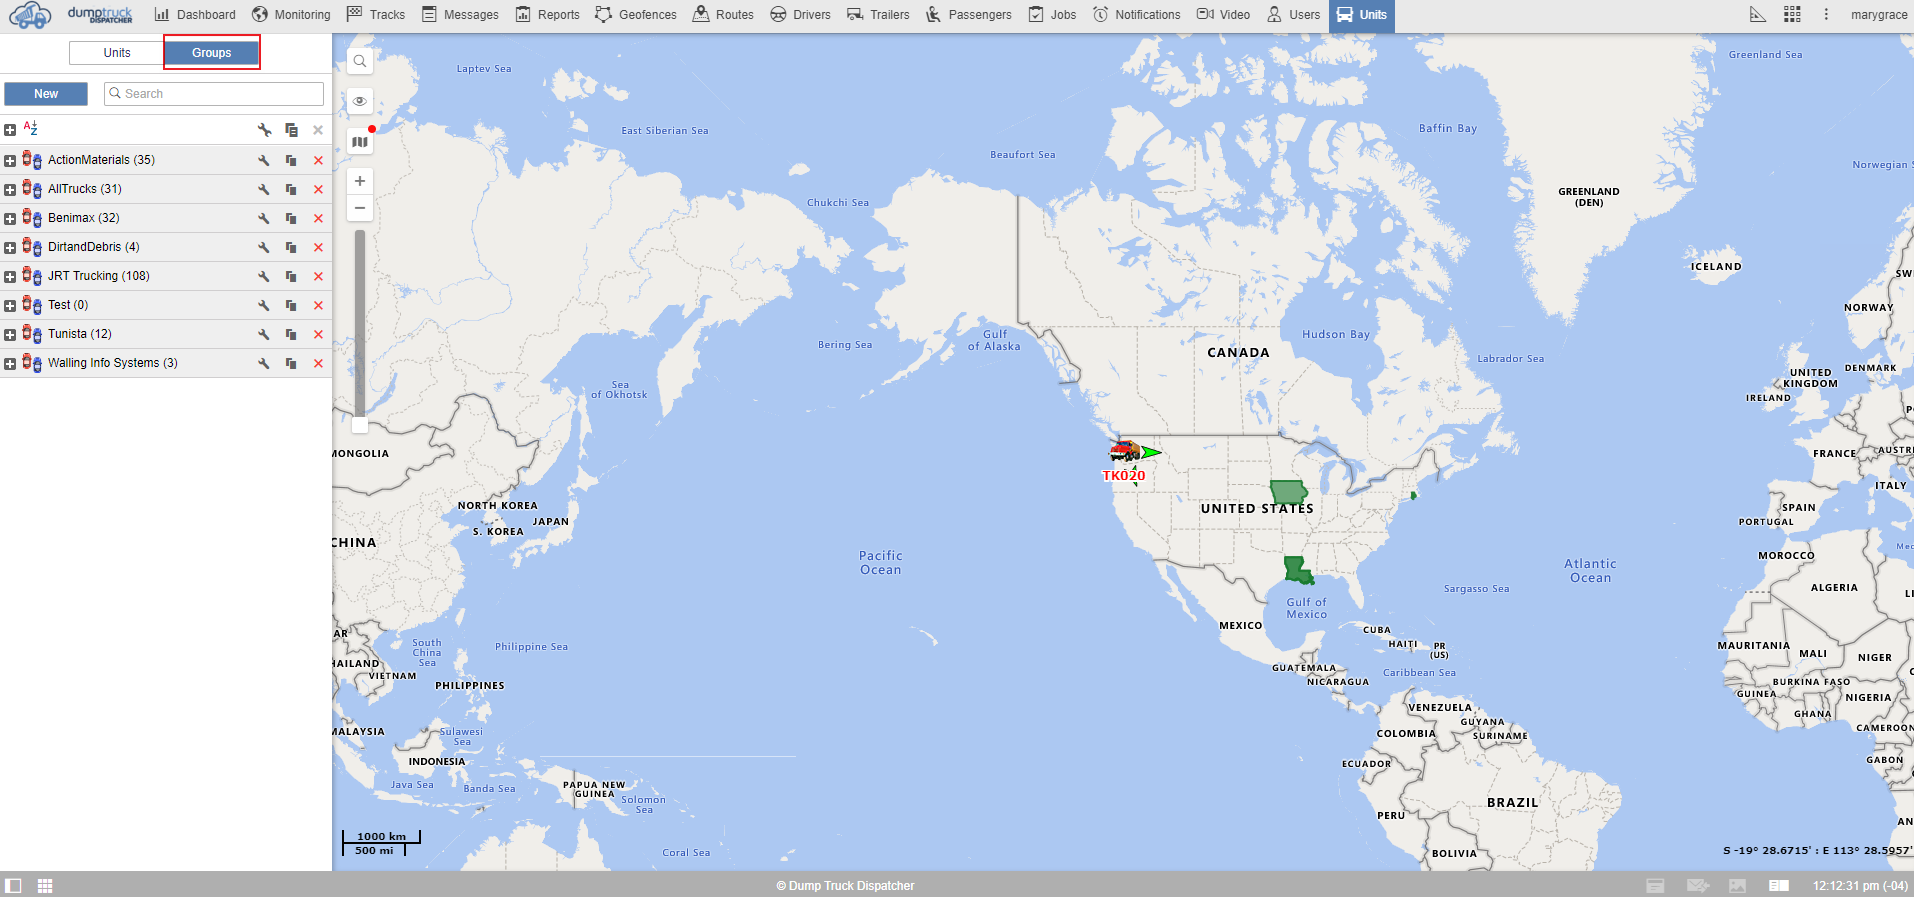
The tab to the furthest right of the top bar will be the units tab. It should be noted that the monitoring and units tab has different functions. At the top of this tab's work area, you’ll see two options: Units and Groups.
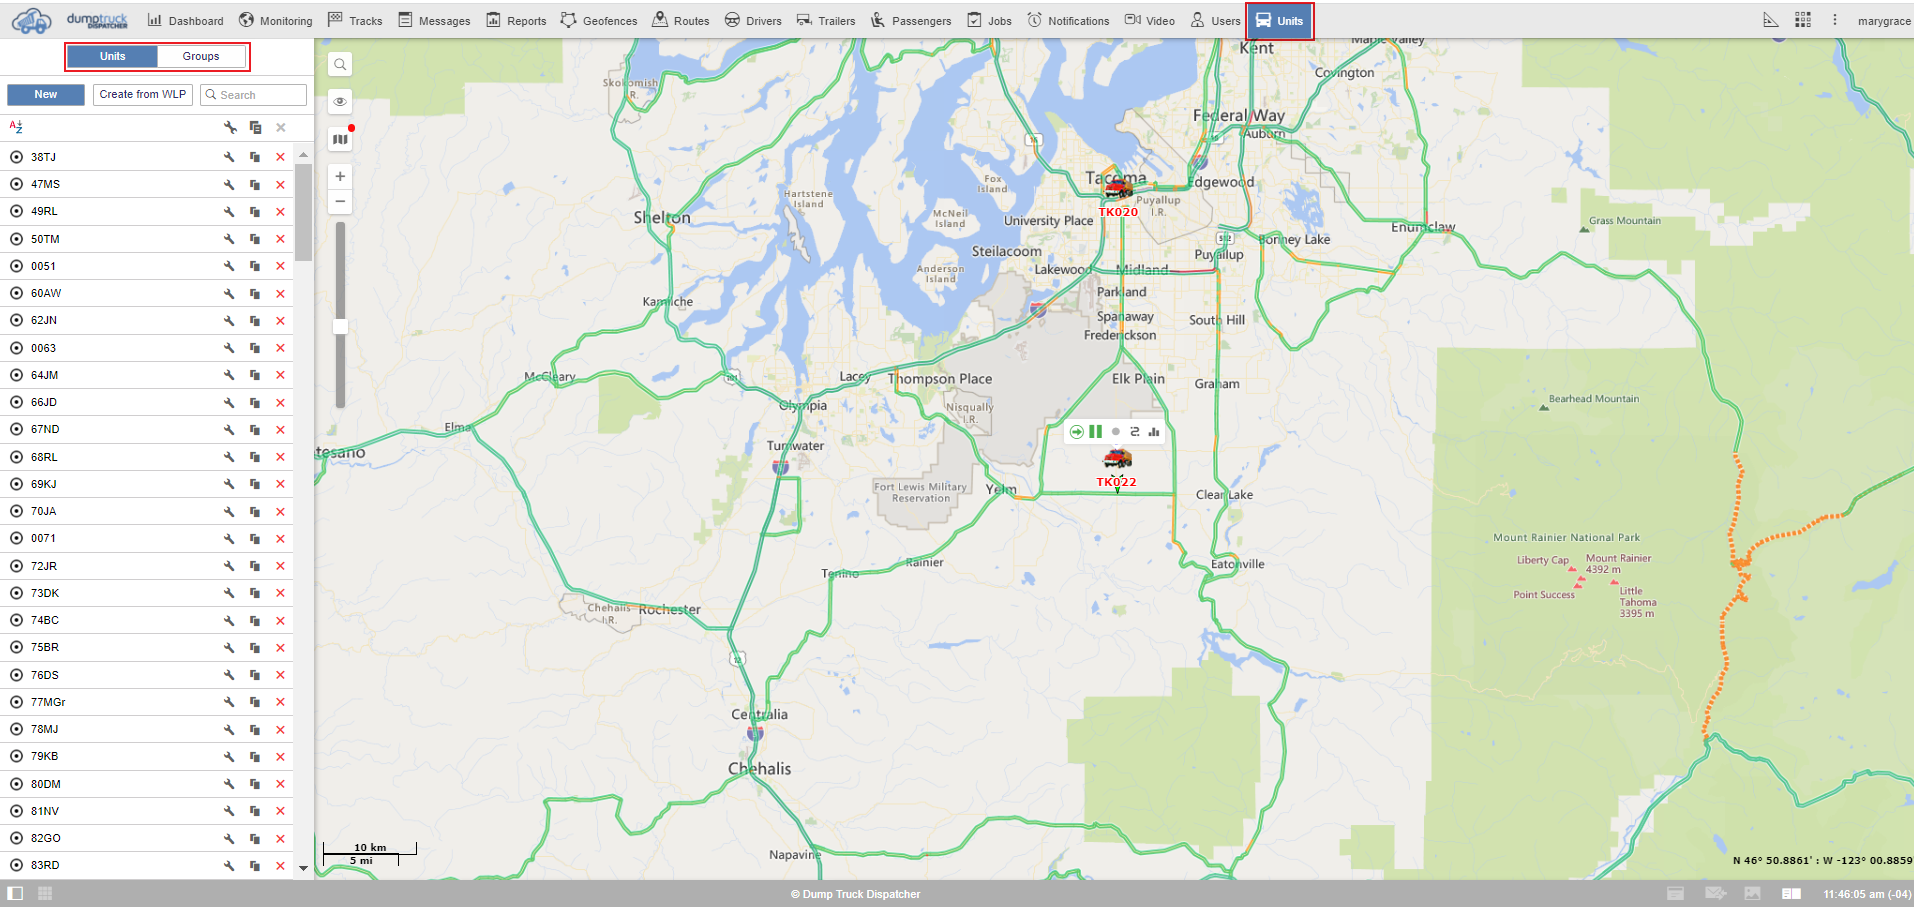
Below the new button, you can see an A to Z icon. This sorts out the units list alphabetically. To the right of each unit listed as the unit properties, is the wrench icon.
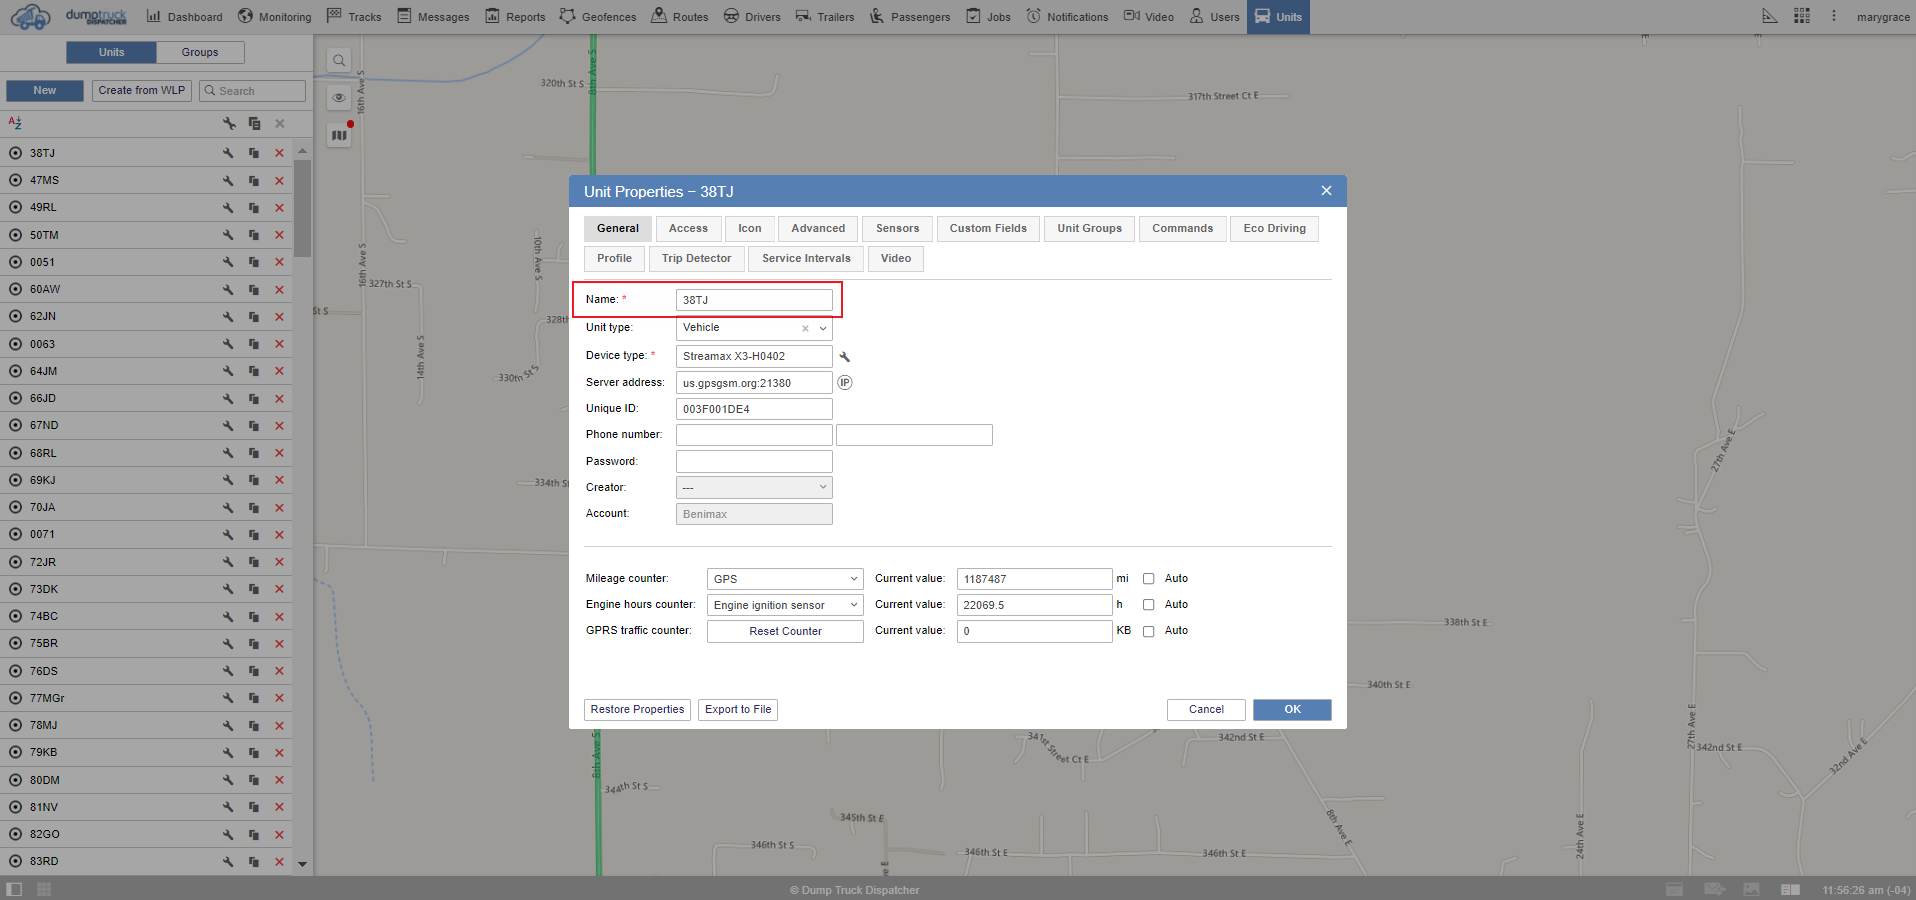
Upon clicking the wrench icon. A pop-up window of unit properties will appear. In the general tab of the unit properties, we’ll see a name field at the top of this area. This field is directly related to how the unit appears on the maps and monitoring tab.
You can also select the icon tab in the same window. If you select the icon library, you can actually see our selection of over 200 icons to choose from.
If none of the designs fit what you’re looking for, you can click on the box showing the current unit icon to upload your own custom icon,
Remember that icon changes for everyone.
![]()
To the right of the wrench, you’ll see a unit copy icon represented by two pieces of paper.
![]()
Last on the unit list is the X. If the X is red it means you have access to delete this unit. If it is gray it means the button is null.
If you delete the unit by mistake, immediately report the issue, the support team will have 30 days to escalate this issue and restore the unit from the time you deleted it.
![]()
In the work area, upon selecting the group list many of these functions will remain the same as the units list, such as sort copy and delete.
The plus is the expansion button which allows you to see the units within that group without opening the group properties wrench.
![]()
The number in parentheses to the right is the number of units indicator. It shows you the number of units in the group without having to manually count them out.
Similar to unit properties, you can select the group parameters to rename this item. You can also place multiple units in the group from the general tab.
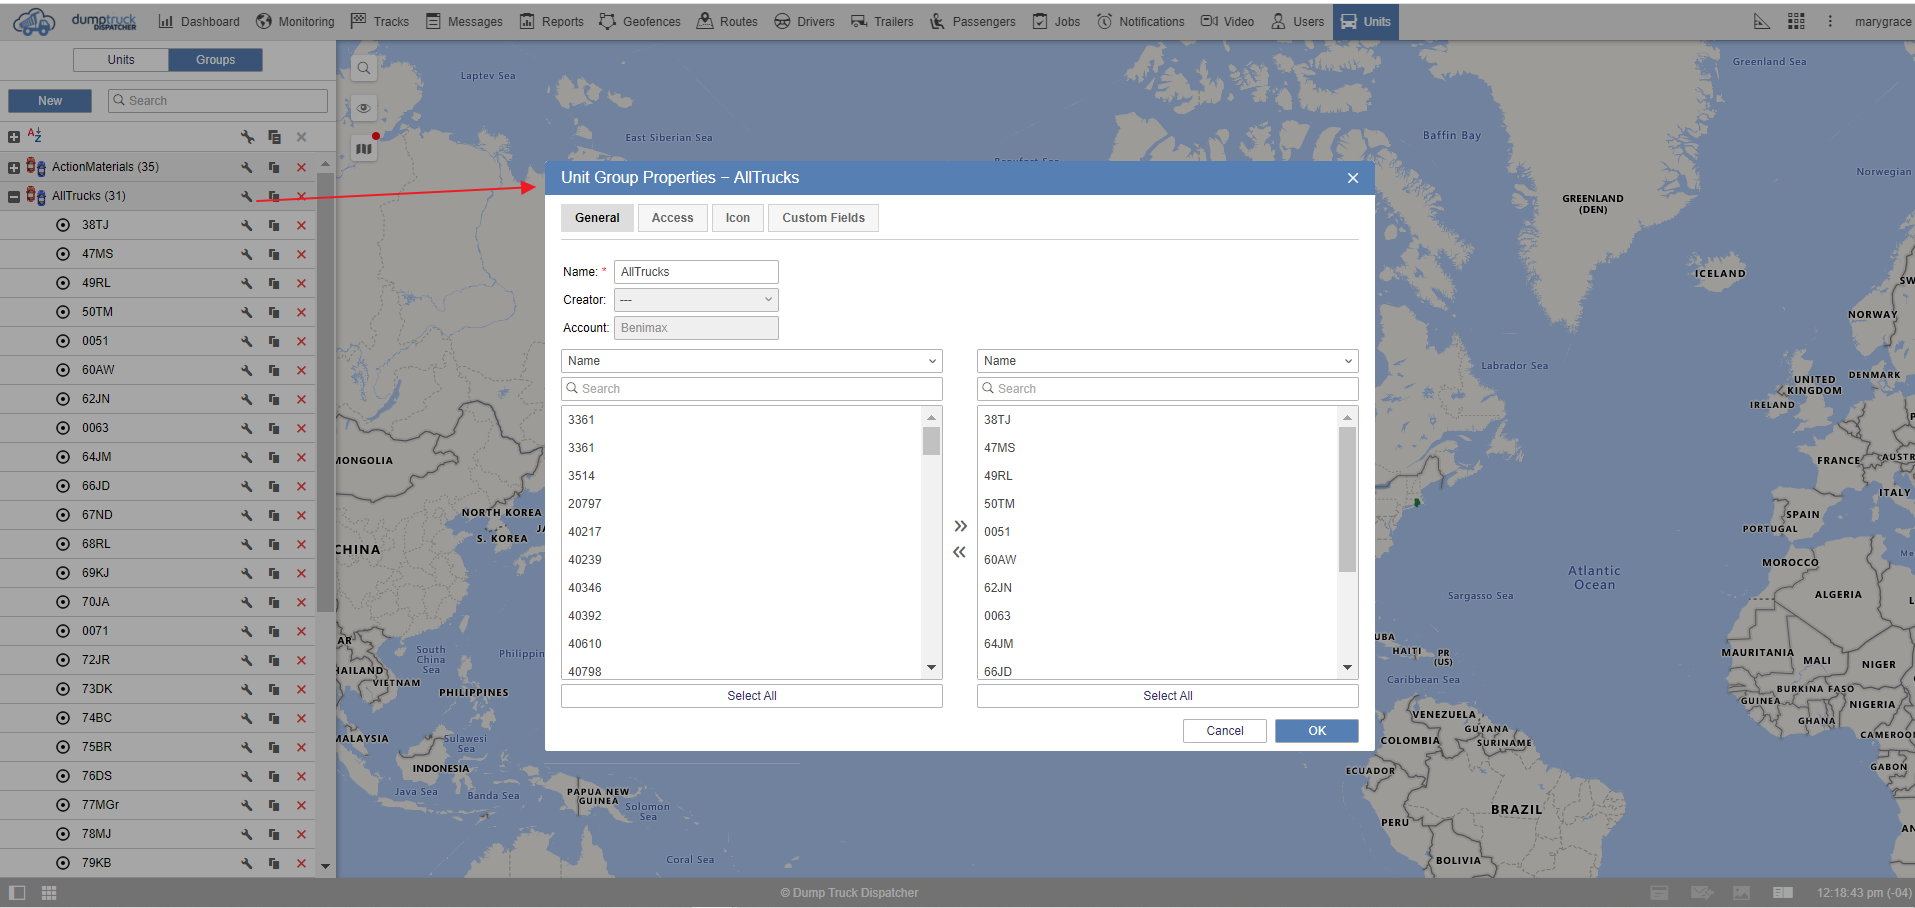
In most cases, you can just double click the units to place in the group, but there are other controls.
You can either hold ctrl and select multiple items before pushing the devices over to the right side of the box.
You can also choose to select all buttons at the bottom and shift them to the other side. The group icon tab looks very familiar. In fact, this tab works exactly like the unit icon tab. From the libraries, icons to the custom upload will all be the same.
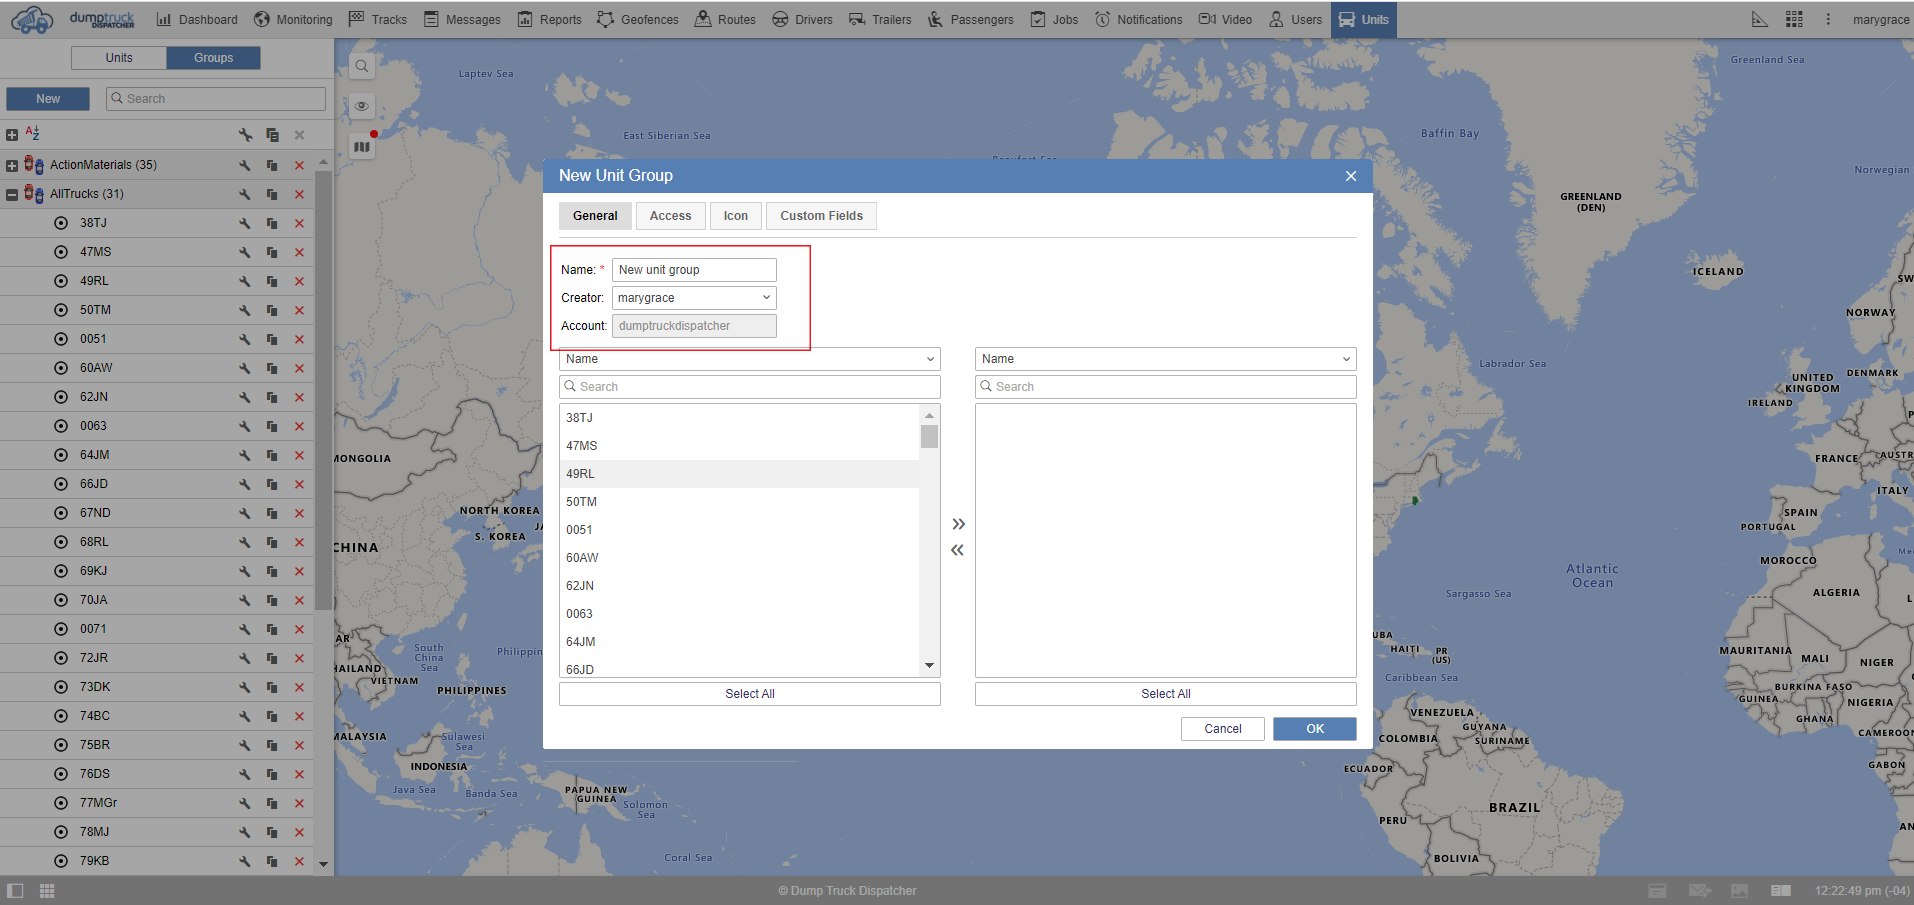
First, make sure you're on the groups' list and at the top of the work area under the units tab, select the new button.
![]()
Then name your group and select the units that you will be placed in the group then click ok.