Let's start by clicking the user's tab, You can see the user names on the right corner of the work area.
Next is the Login as the icon. This will allow you to log in like any other accounts that are lower in your hierarchy. Next is the user property wrench. This allows you to change user access or passwords. next is the copy user icon. It allows you to make more users with the same access by copying one user's settings to another. Last is the delete user icon.
First, click on the new button in the right corner of the work area.
Upon creation, we'll go first to the general tab. Work with the tab from top to bottom, so you don't miss anything. Let's start by entering the user name. You can use your email to be unique.
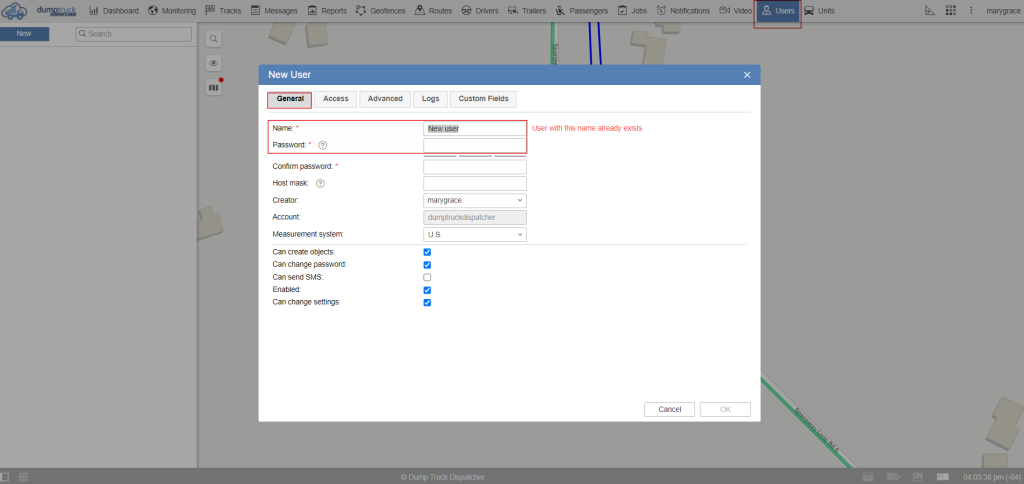
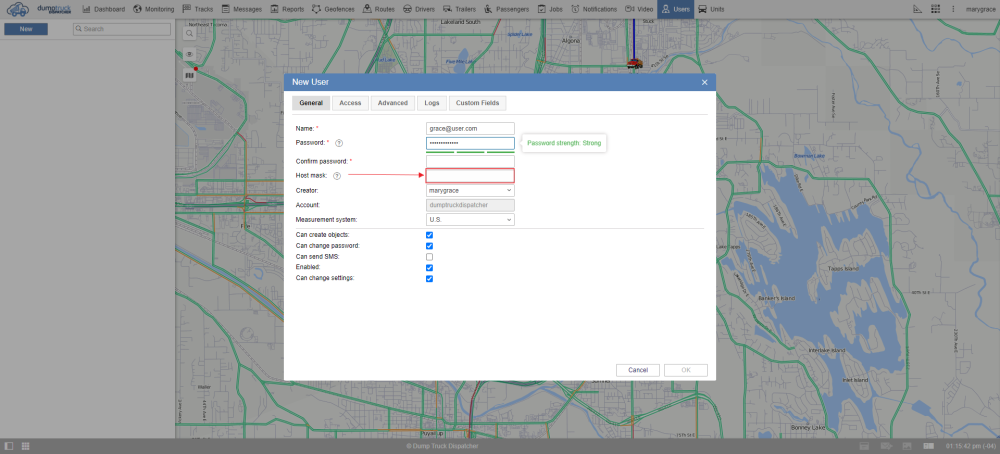
Next is the password, Make sure to create a strong password. It is recommended to have at least 10 characters or create a small phrase for the password to be strong.

Host mask is only used for special use cases. It's a whitelist where you can only log in from a single office. If you don't need it, it's better to leave it blank.
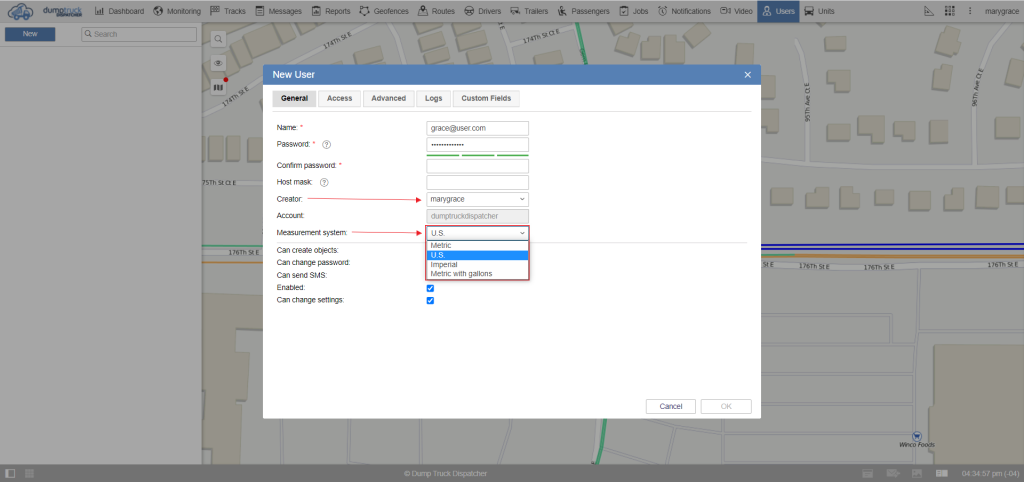
Next is the creator, Account, and measurement system. The account is based on the creator and it will not be changed. We can also set the measurement system by choosing on the dropdown list.
Can create items checkbox, allows the user to create units, users accounts, resources unit groups, routes, and retranslators.
Can change password means the user is allowed to change his password. Can send SMS allows the users to send messages. The enabled button defines if the user can log in or not. can change settings allows the user to change his own settings.
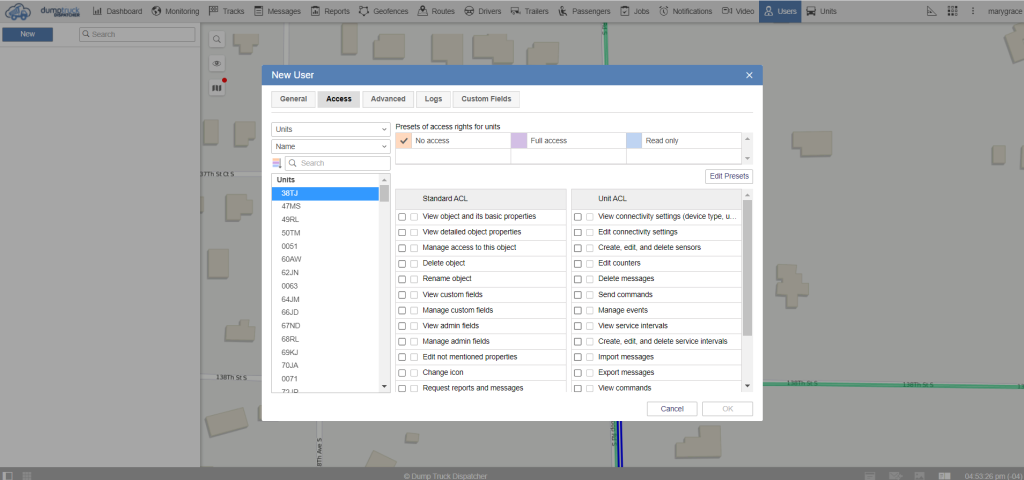
Next is the access tab. it allows you to give the user access to the objects to which you have the rights to yourself. On the left select the objects you want to give access to. And to the top right section select the full access check box.
Now let's see the Advanced Tab, in the email box you can place the contact that can be used for password reset and account block warnings. In order to get warnings about account blocks, you need to check the checkbox that enables this feature.

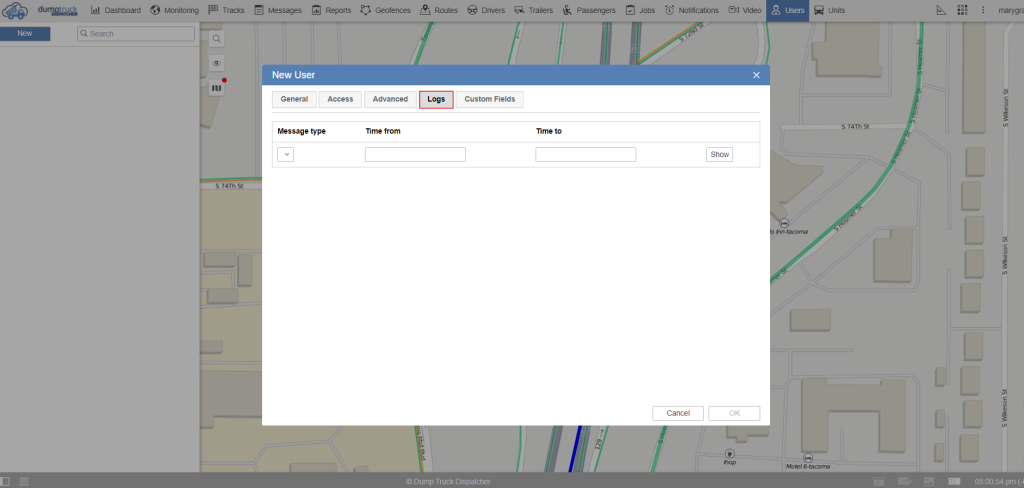
Now to the logs tab, Logs is a way to see what the user is doing with the system when they dinged it and from what IP they are connected. The message type is the user logs. Select the time from and the time to and press show.
Next is the Custom Fields, On this tab, you can add any information about the user, whether it's a home address or position of the user in the company. The check box below can be marked as an admin field where it can only be visible to the user with appropriate rights.
In the left text box, enter the name of the field, for example, position. On the right text box enter the value of the field, for example, dispatcher.
To save a custom field click the add button, to delete click the X button.
At the end of the dialog box click the OK button.