Enter Customers

Watch the video below to learn how to create customers.


Click on the “Customers” menu item on the main menu.

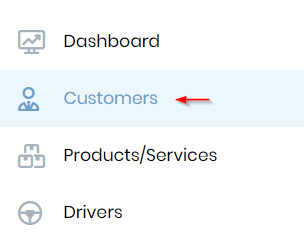
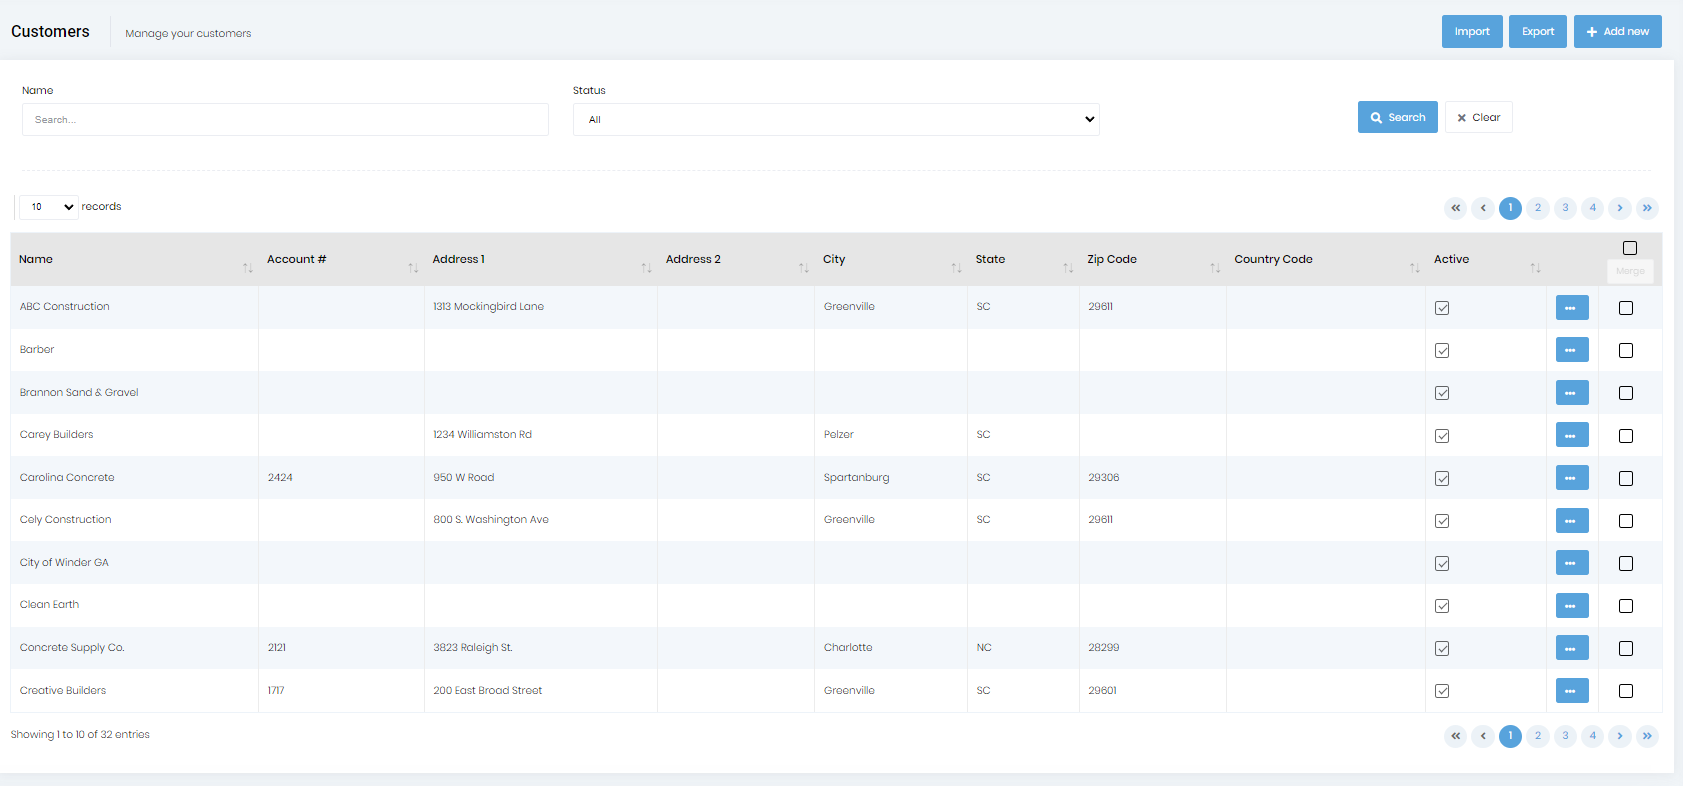
You will then see the "Customer List," where you can manage your customer data.

Adding a Customer

Click on the “Add new” button on the “Customers List”

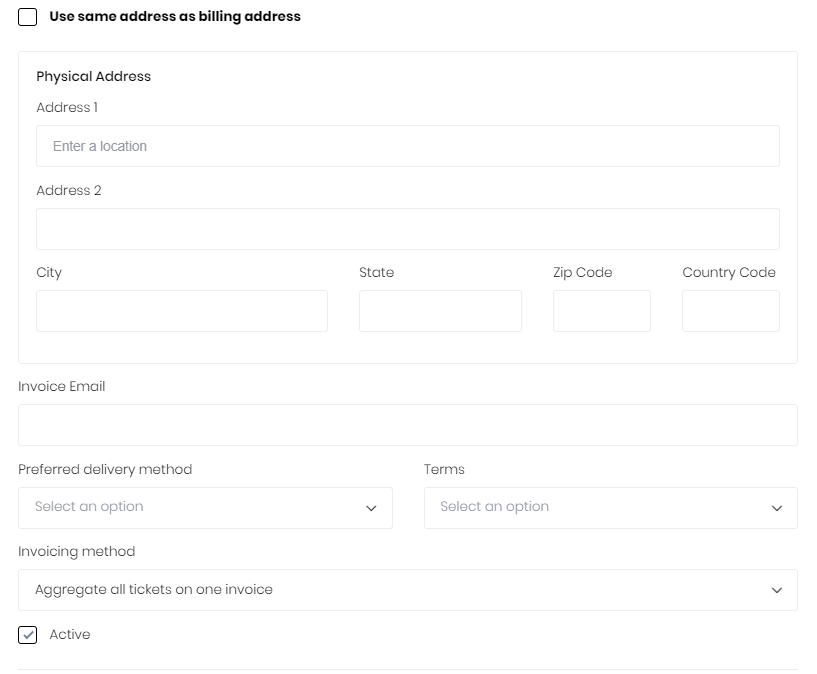
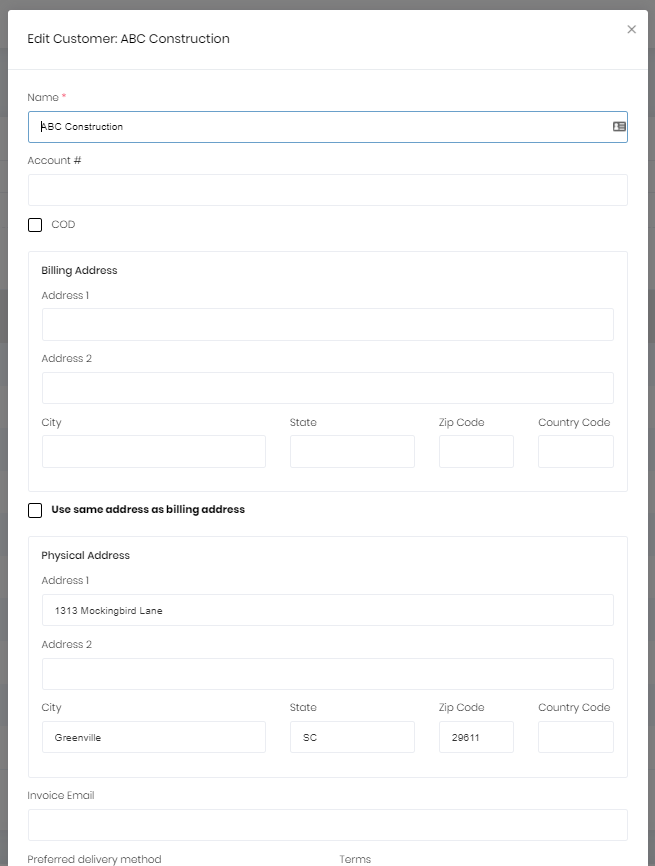
Upon clicking the "Add New" button, you'll see a dialog to allow you to enter the customer information. The name is the only required field.

The account # is used for customers who do not use Quickbooks and have a numeric account number. Check the "COD" checkbox if the customer must pay on or before you provide the service. If you use an accounting system without an account number, you can leave the "Account #" field blank.

The “Invoicing method” specifies how tickets will be added to an invoice based on the automatic invoice creation. Following are the options and when each should be used.

1. Aggregate All Tickets on One Invoice:
  • Use this option when you want to combine all tickets for a customer into a single invoice for the billing period. This is suitable for customers who prefer a consolidated invoice for all the work you do for them. This is the default and will be the value if you don't change it.
2. Separate Tickets by Job Number:
  • This option creates separate invoices based on job numbers. All the tickets on an invoice will have the same job number. It is ideal for customers who have multiple projects or locations and require invoices to be split accordingly, such as a land developer with multiple subdivisions or a concrete company with multiple plants. If the customer doesn't provide you with a job number, you can make one up based on what you know about the project they are working on.
3. Separate Invoice per Ticket:
  • This option generates a separate invoice for each ticket. It is less commonly used but may be necessary for specific cases, such as agricultural companies needing separate invoices for each farm delivery.
4. Separate Tickets by Job:
  • This option creates separate invoices for each job. If you create a job to pick up #1 stone at pit A and deliver it to project site B on Monday, that is a single job. You might do this same type of work on Tuesday and Wednesday, but each day will be a separate job. If you choose this option, the system will create three separate invoices - one for Monday, one for Tuesday, and one for Wednesday. This is useful for customers who need daily invoicing for ongoing projects.
These settings help tailor the invoicing process to meet the specific needs of different customers, ensuring clarity and accuracy in billing.

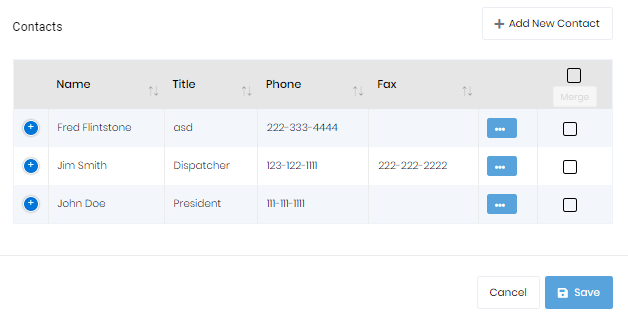
You can also add contacts under the customer by clicking on “Add new contact”. Multiple contacts can be added for each customer.

If you enter the contact's email address  and have the feature for "Customer Portal" enabled, you'll see a checkbox that allows you to give this contact access to a customer portal where they can view their tickets and invoices.

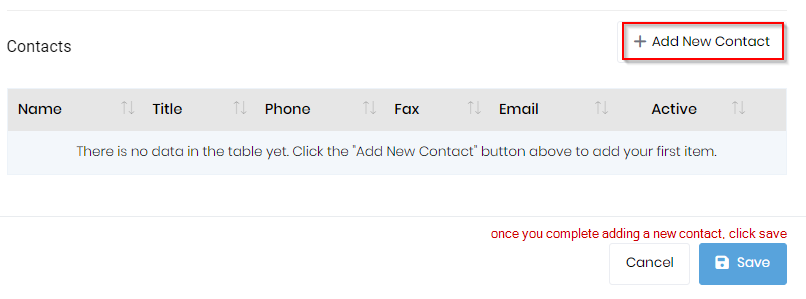
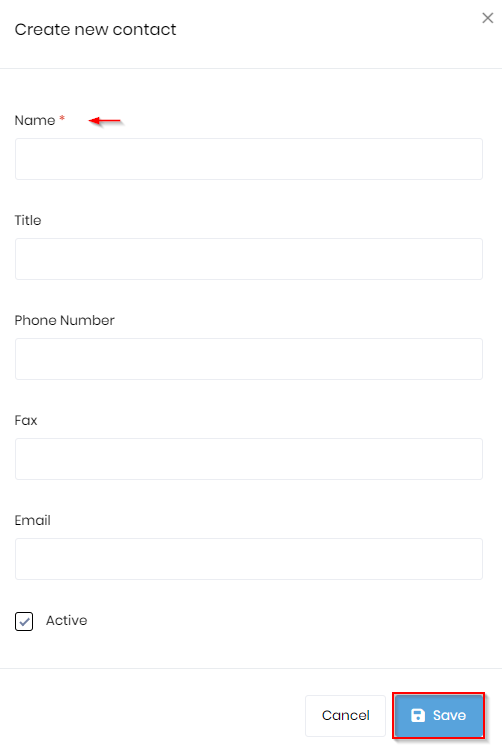
Click on the “Save” button after you have entered the information.

Customer List
Upon clicking the "Add New" button, you'll see a dialog (shown below) to allow you to enter the customer information. The name is the only required field. The account is only used if your accounting system has account numbers. If you are using QuickBooks, you don't need to worry about this.

If the "Account #" is left blank, the system assumes the customer is COD and will display "COD" on various screens. If you are using a system without an account number, you can copy the "Name" to the "Account #" field.
Add/Edit Customer
By clicking on the small “Add New” button at the bottom right of this form, you can add Customer Contacts.  Multiple contacts can be added for each customer.
Customer Contacts

test

Related Posts

Read Me First

By Joe Walling
Prior to being able to use Dump Truck Dispatcher in day-to-day operations, there are some things that need to be set up. Although it may be tempting to jump right in and add and schedule an order, there is some setup that needs to be done. While some of the information we are going to set up can be entered on the fly as you add orders, it will be a lot easier if you do this in advance.
Read More

Adding a Logo for Quotes, Invoices, and Reports

By Joe Walling
Learn how to enhance your Quotes, Invoices, and Reports in Dump Truck Dispatcher by adding a custom logo. This step-by-step guide walks you through the process to ensure your branding looks perfect on every document.
Read More

Enter Users

By Joe Walling
How to add your users and set their permissions.
Read More
864-214-2558
Terms & Conditions