
Enter Locations
Add & manage multiple locations in Dump Truck Dispatcher to streamline dispatching, track jobs & optimize routes for efficient operations across different sites.
Watch the video below to learn how to create a location.
Accessing Locations
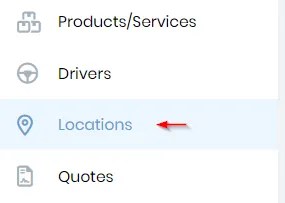
On the main menu click on “ Locations ” .
This will open the list of your company’s locations as shown below.
Adding Locations
Click on the “Add new” button and “Allow” when the pop-up requesting geo-location permissions is displayed . This will enable you to see the map.
These locations may be quarries, asphalt plans, yards, dirt pits, other suppliers, and common job sites.
Fill out the fields with the corresponding information, such as name, street address, city , and category. You can also add a contact to a location. You can add the contacts by clicking the “Add New” button at the bottom right. Multiple contacts can be added for each location.
On the map you can “Drop a pin” to specify a location that might not have an address by double-clicking where you want the pin on the map. Double-clicking the pin will remove the pin. If you need to move a pin, click the pin and drag it on the map while holding the left mouse button down.
You can also select to view the map in “Satellite” view. This enables you to see if the pin is in the proper location since you should be able to see landmarks.
Click on the “Save” button once all data has been added.
To add a new “Location”, click on the “Add New” button located at the top right of the screen. That will display a dialog like the one below. The name and category are required fields. The dispatches use the address information, so be sure to fill that in if you want the drivers to get the addresses on the dispatches.
If a supplier is no longer needed, they can be inactivated by unchecking the ‘Active’ checkbox. If they are duplicated, they can be merged. Only ‘Active’ suppliers can be added to new orders.
This form also allows you to add temporary locations that aren’t suppliers. For example, if you have a location that is temporarily accepting fill, you can add them with the category “Temporary Location”. Since this might not have a name, you can enter the address in the Name control as well as in the address controls.
At the bottom of the view is a list of contacts for the location. You can add the contacts by clicking the “Add New” button at the bottom right. Multiple contacts can be added for each location.