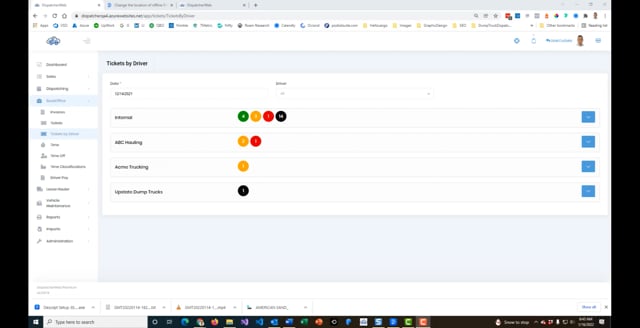
This screen is sorted by driver and job. If you have a stack of paper tickets sorted by driver and job for the day, you should be able to step through this list and either enter or verify the tickets for the day. Below is a screenshot of the screen showing a summary of the tickets for your internal trucks and your lease haulers (subcontractors). It is color-coded so you can see the status of the tickets for your internal trucks as well as the summary for each sub-contractor.
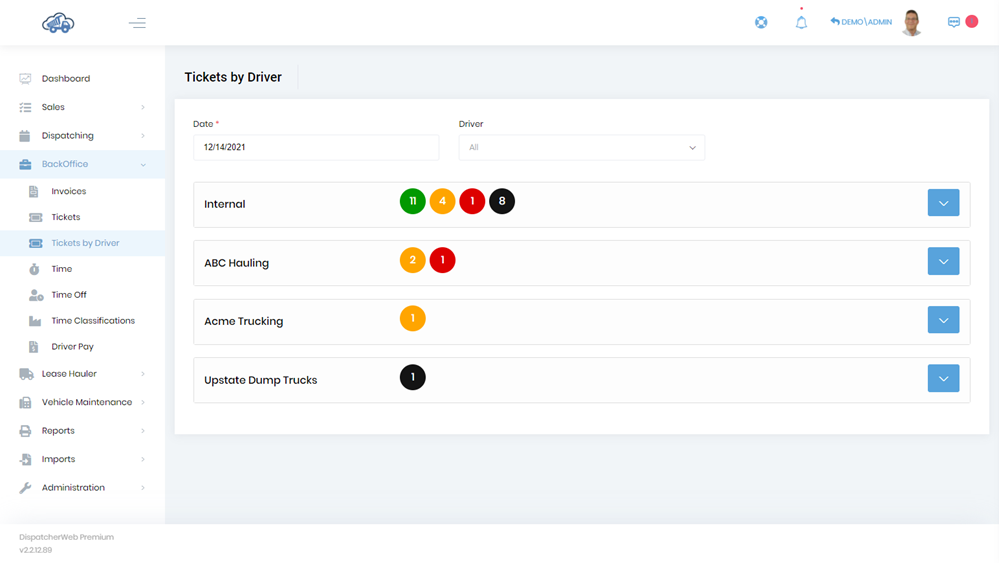
The indicators show the status of each ticket based on color.
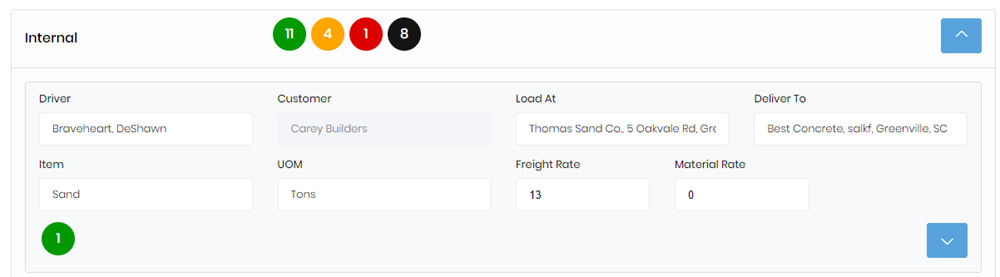
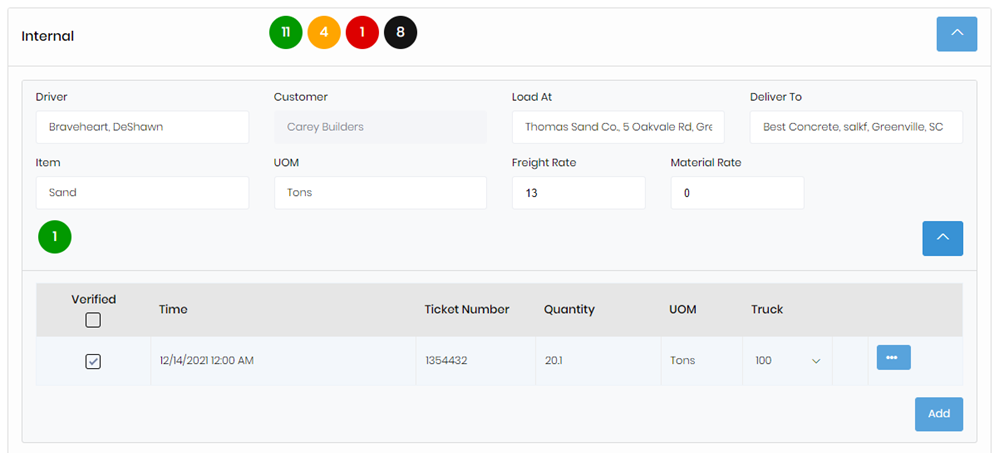
Below is an example of the screen with the internal truck block opened.
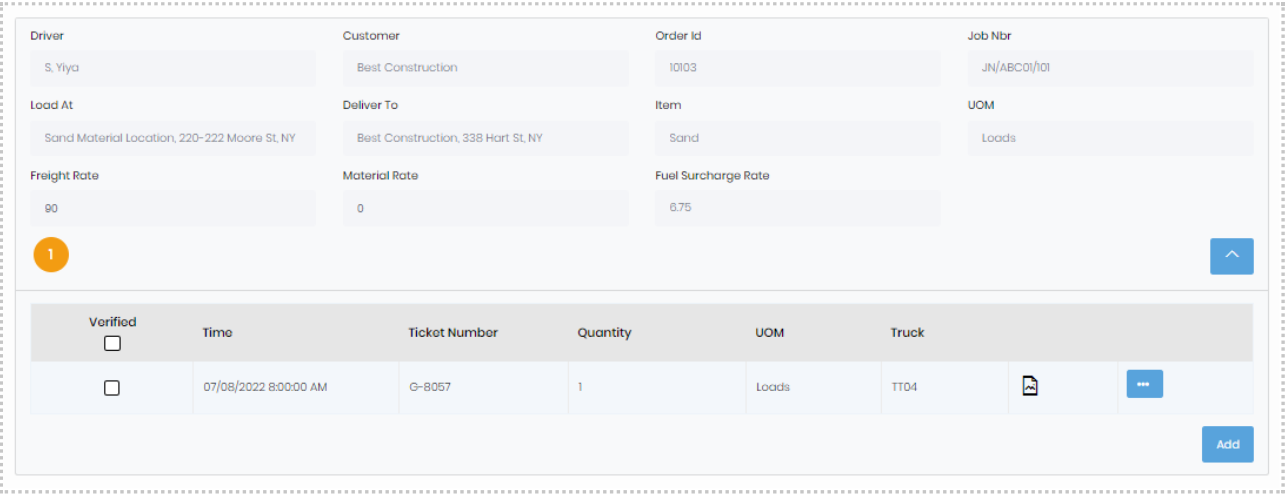
Clicking on the button in the bottom right of the panel will show the associated tickets for the specified job as shown below.
When you have verified that a ticket is correct, you can check the appropriate checkbox in the left column.
Changing any of the items other than the driver in the top portion of the panel will update the order and will change the values for any other driver working this job. For example, if the dispatcher had dispatched in loads and you need to invoice in tons, you can change the unit of measure and the rates. This will update the order and the records for any other driver working this same job. These changes will not change the dispatches.
Changing the driver in the top panel will change the driver associated with all the tickets in the bottom portion. If you need to change an individual ticket to a different driver, you’ll use the menu for the associated ticket.
We added more options for manipulating images from the ticket menu.
If the “Show Fuel Surcharge” checkbox is enabled on settings, then on the “Tickets by Driver” view “Current Fuel Cost” control will be displayed on the top right of the outermost panel with the most recent fuel cost value.
By clicking on the pencil icon near to the “Current Fuel Cost” control the user can edit the fuel cost.

If an order is created by specifying a fuel surcharge calculation method and if there are tickets associated with it, then on the specific Driver-Order line panel the Fuel Surcharge Rate will be displayed on the Fuel Surcharge Rate control
It is calculated as FuelSurchargeRate = FreightRate*((CurrentFuelCost BaseFuelCost)*FreightRatePercent)/(100*Increment)