Watch the video below to learn how to add trucks.
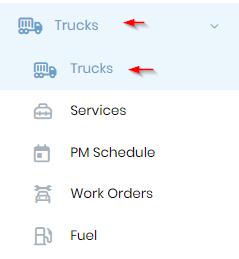
Click on the “Trucks” menu item and then “Trucks” on the submenu. This is where you'll add your internal trucks and trailers.
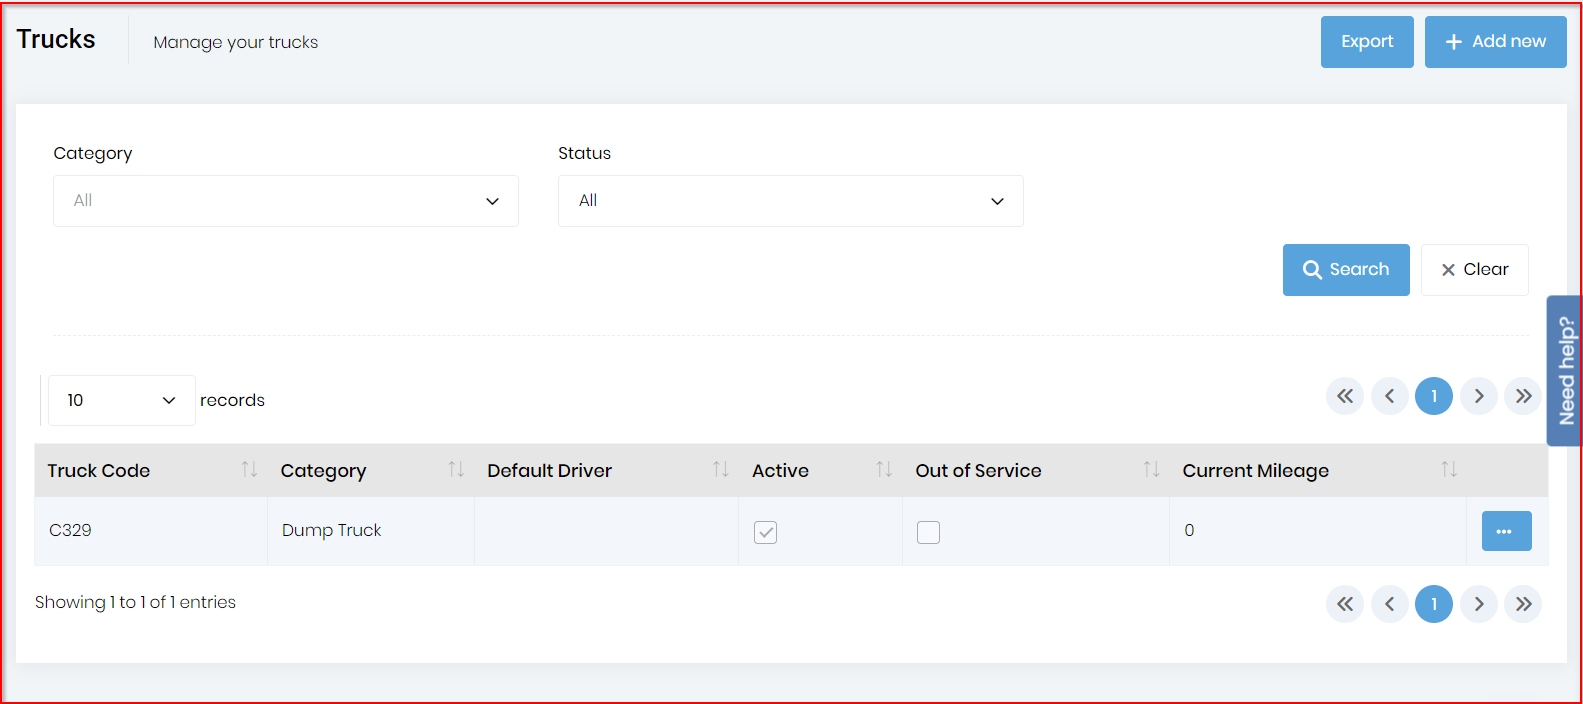
Note that this isn't where you will enter trucks related to your sub-contractors. You will find sub-contractor trucks here. They aren't typically part of the initial setup. It is best to implement Dump Truck Dispatcher with your internal fleet first.
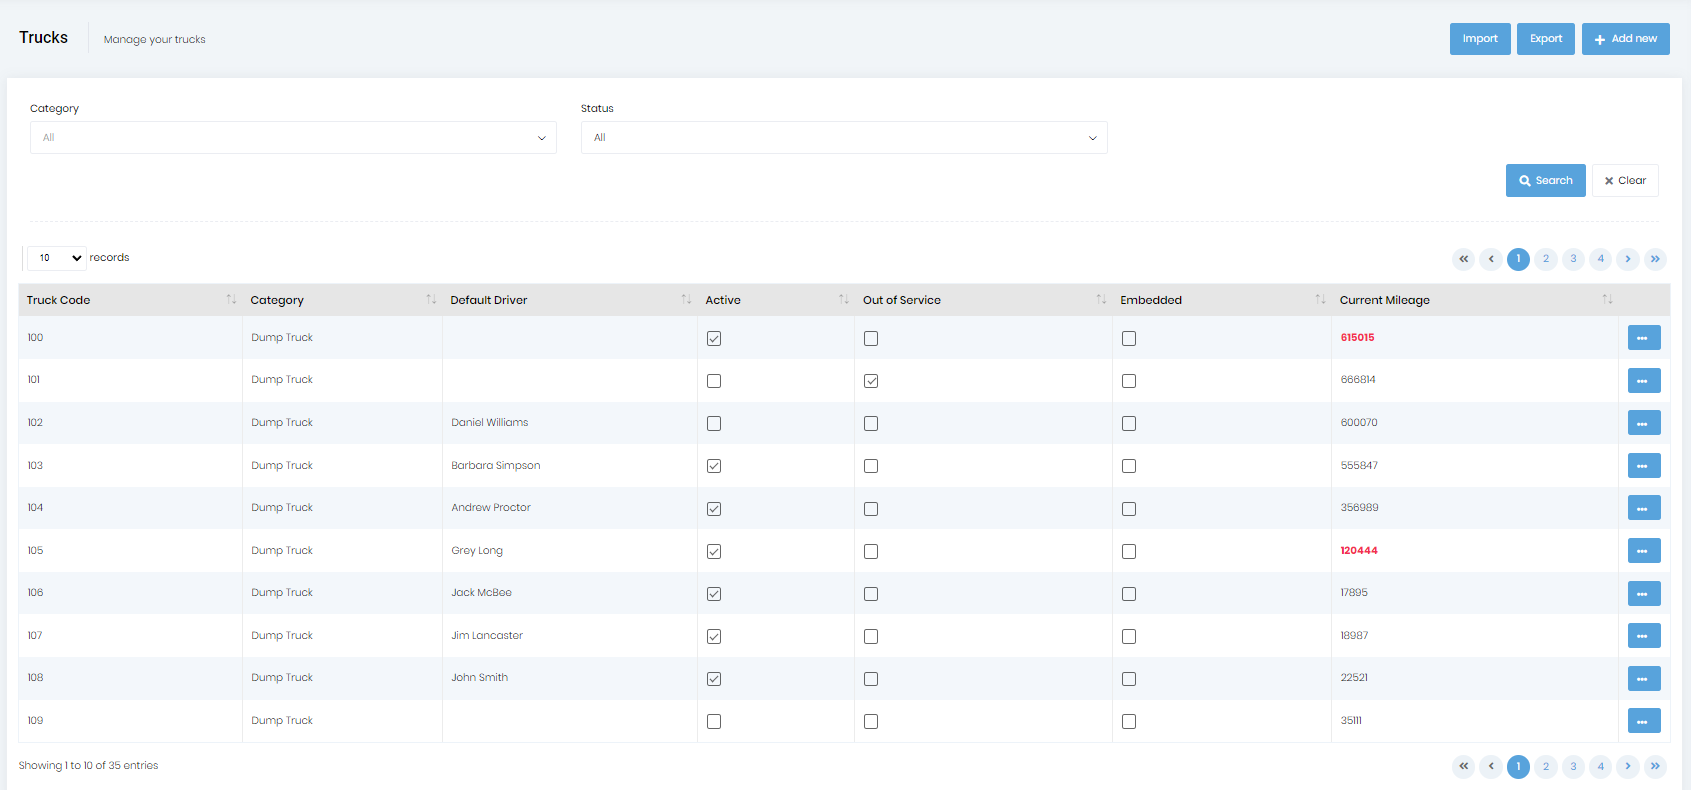
This will open the main screen for the trucks in your company.
You can sort your data in ascending and descending order by clicking on the column headings in the data table.
To add a new truck, click on the “Add New” button located at the top right of the screen.

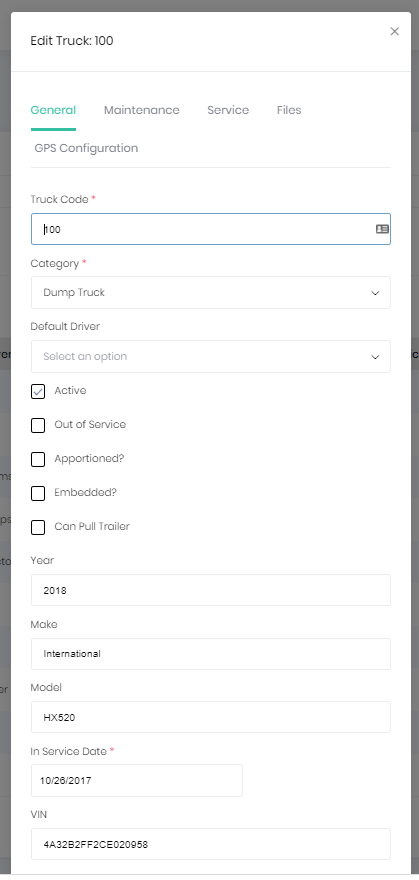
You will see the "Create New Truck" dialog shown below. Fill out the fields provided with the corresponding information, such as truck code, category, year, make, model, VIN, plate number, expiration date etc.
The fields shown in this dialog may differ from what is shown below. Some of the fields are based on the category selected.
You can also mark a truck “Active” or “Out of Service”.
Leave the default value of "Always show on schedule" checked if you will be scheduling this truck. If the truck is being entered for the sole purpose of vehicle maintenance, this can be unchecked so it won't show on the schedule.
You should check the apportioned checkbox if your trucks are permitted for out-of-state use.
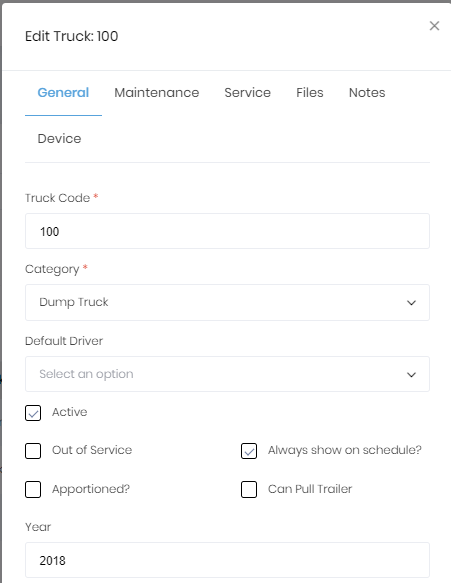
Important Note: the value you use for the "Truck Code" is how the truck will be identified throughout the system. Try to keep this code under 5 characters so it won't be cut off on the schedule. Fewer characters in the truck code will also result in less typing.
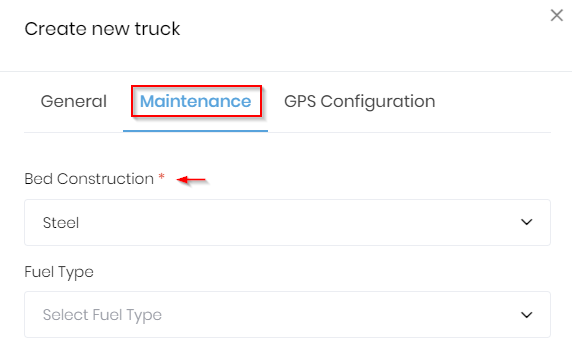
On the next tab, maintenance, you can specify the fuel type, type of tires, engine, etc. The only noteworthy item on this tab is “Bed Construction” since you may want to limit what is put on the truck based on this attribute. "Bed construction" isn't available for all categories but is often required.
This is where you'll enter miscellaneous notes that don't seem to fit any other tab.
Add information on Devices embedded in the Truck, such as: tablets, GPS devices, and Cameras.
Once you have completed everything, click the “Save” button.
From the "Truck List," you can edit and delete your trucks by clicking on the ellipsis (…) button to the right of every truck record.